
Sharing a webcam
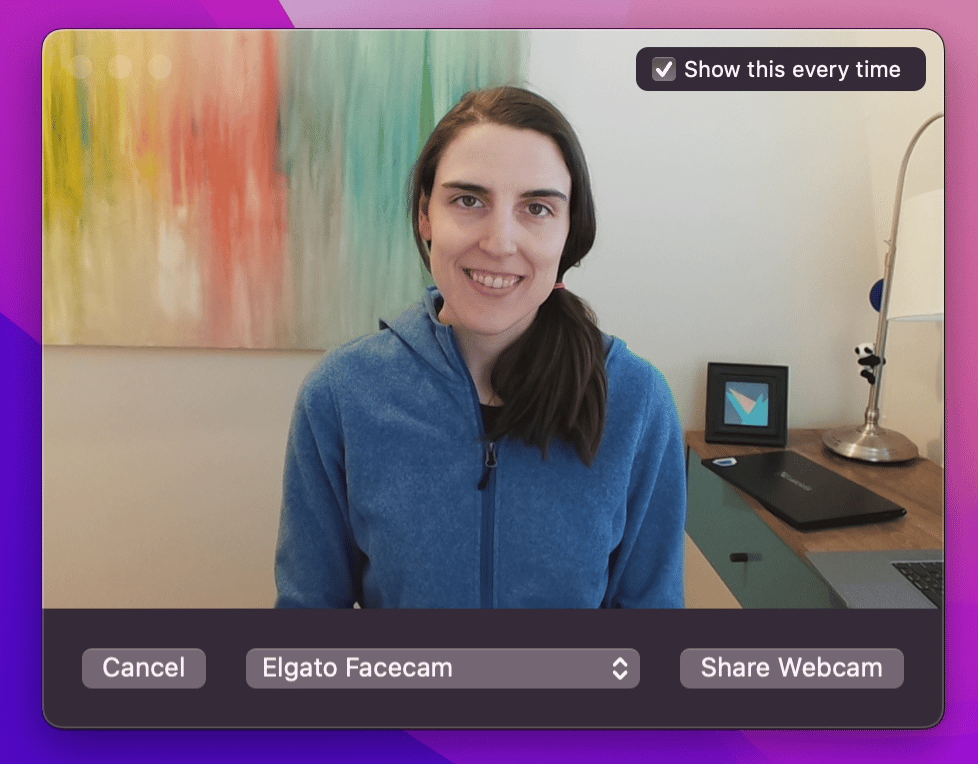
To add a webcam video, click the “Start Webcam” icon in the popover UI: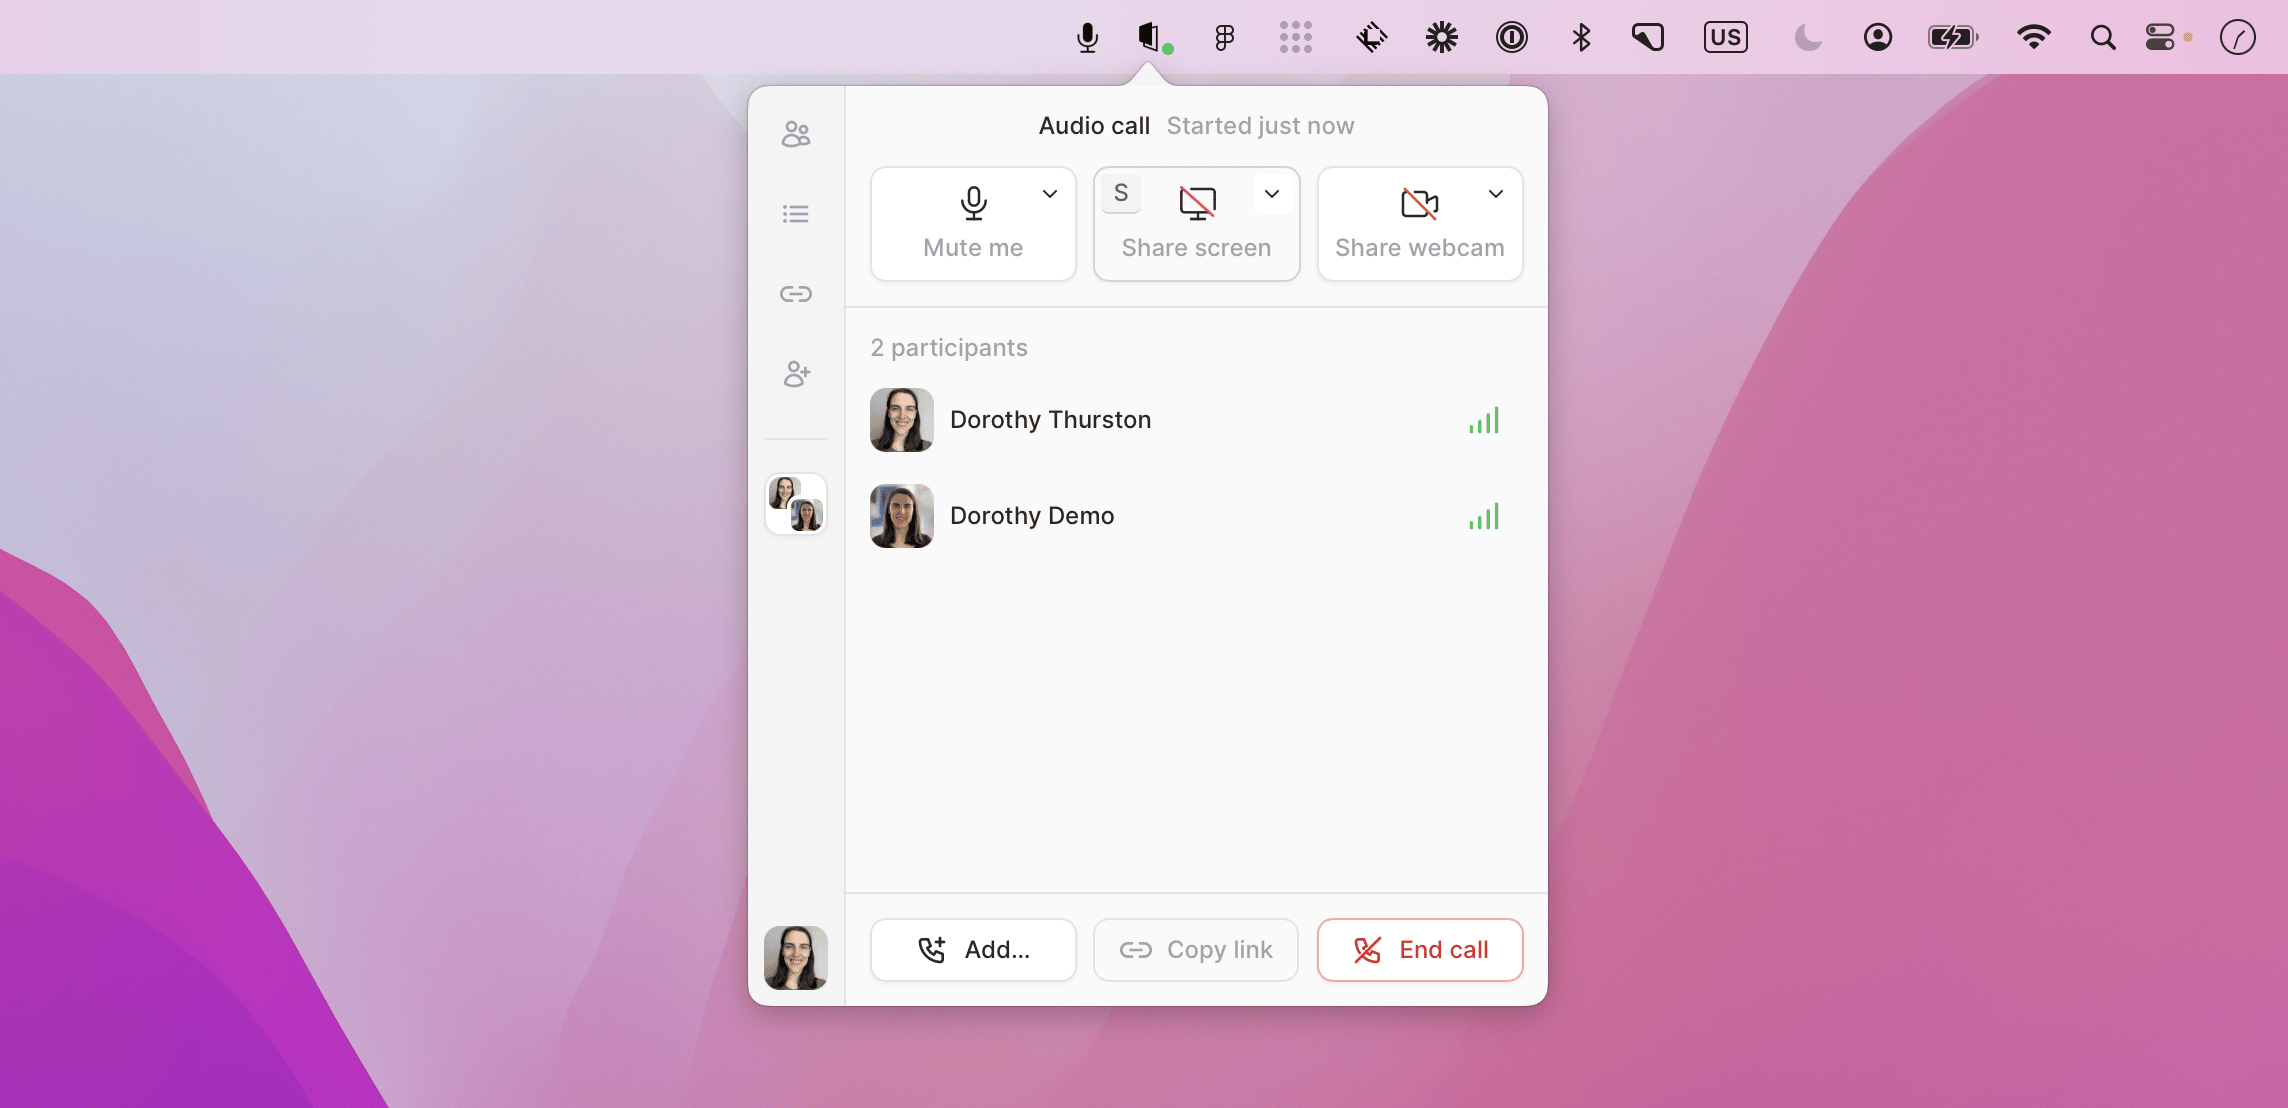
Conversation mode & coding mode
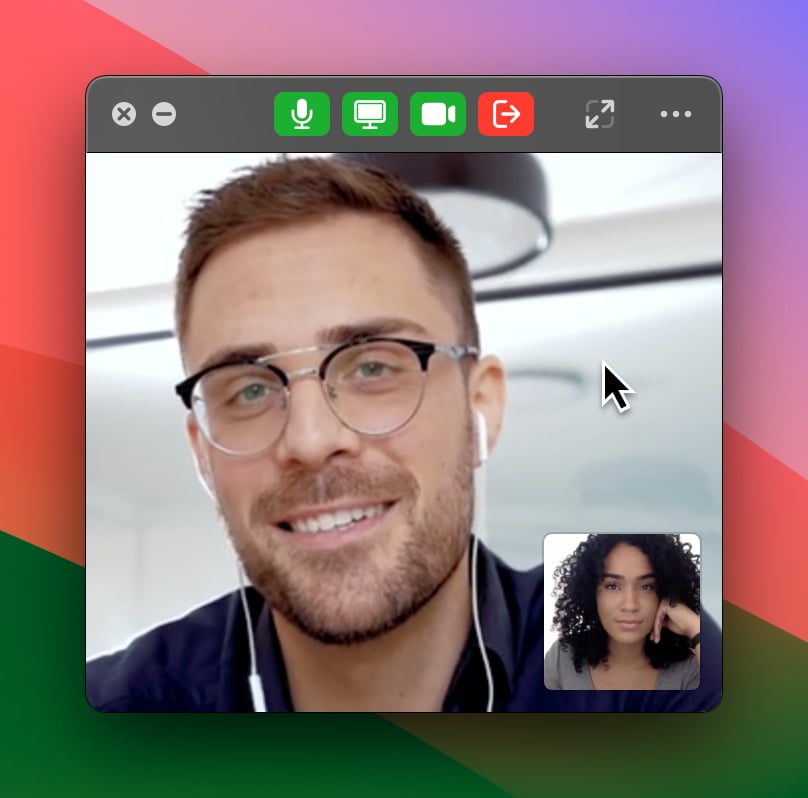
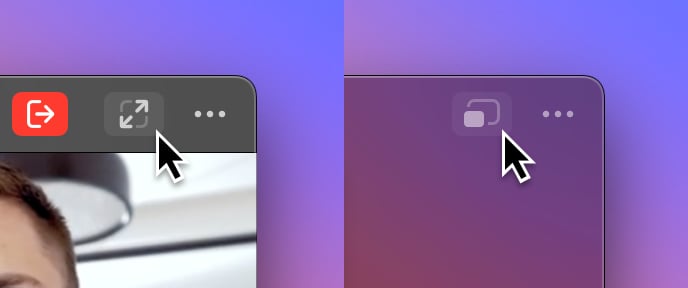
Tuple has two different ways to see the webcams of other participants on the call: coding mode and conversation mode.Coding mode is the default mode, and is designed to be used in a pairing session where code is the primary focus:- In this mode, the webcam window will float above all other windows.
- This mode allows participant webcams to be laid out either in a horizontal row or vertical column (this can be changed from the triple-dot menu).
- In this mode, the webcam window resizes proportionally.
-
Buttons and other UI elements are hidden by default and show up when your cursor hovers the window.
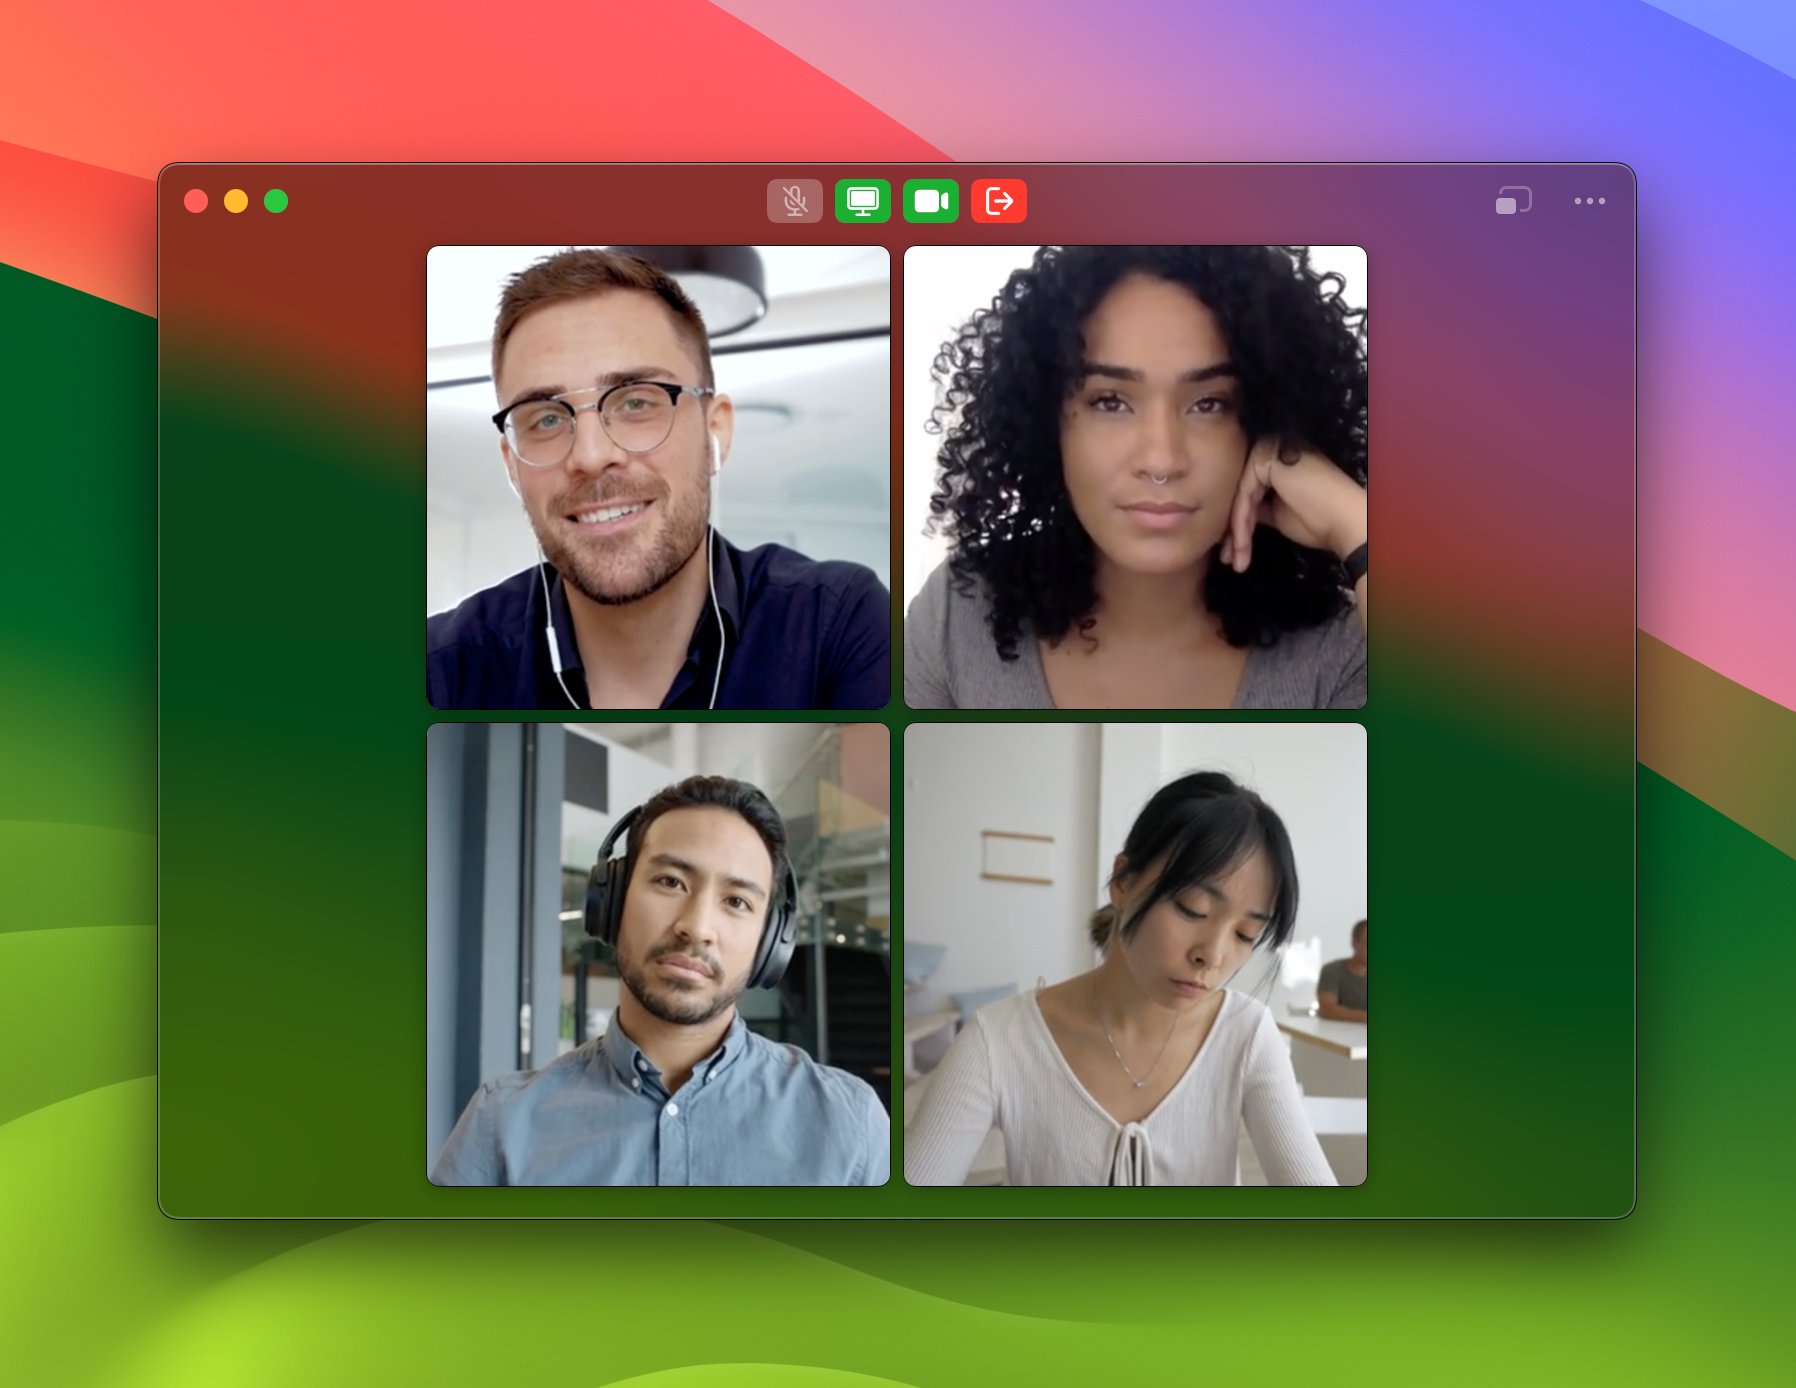
- In this mode, the webcam window will behave like a normal window (i.e. it will go behind other windows when it loses focus, the window can be resized arbitrarily, etc).
-
This mode lays out participant webcams in a grid, which allows each individual webcam view to be larger.
Showing your own webcam self-view
While on a call, you can show or hide your own self view. This won’t change whether other participants can see your webcam or not.To show or hide your self view, click on the menu in the top-right corner of the webcam window, and click “Show/Hide Self View”.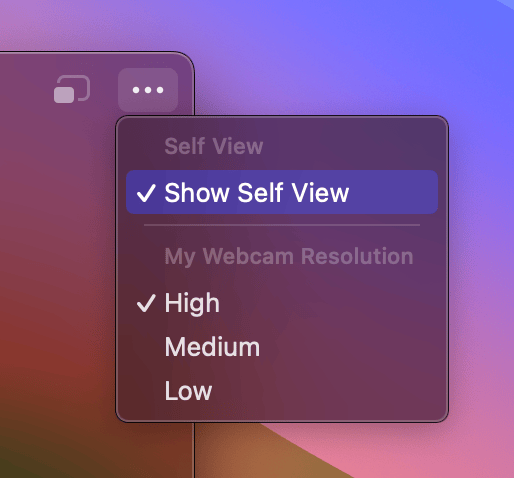
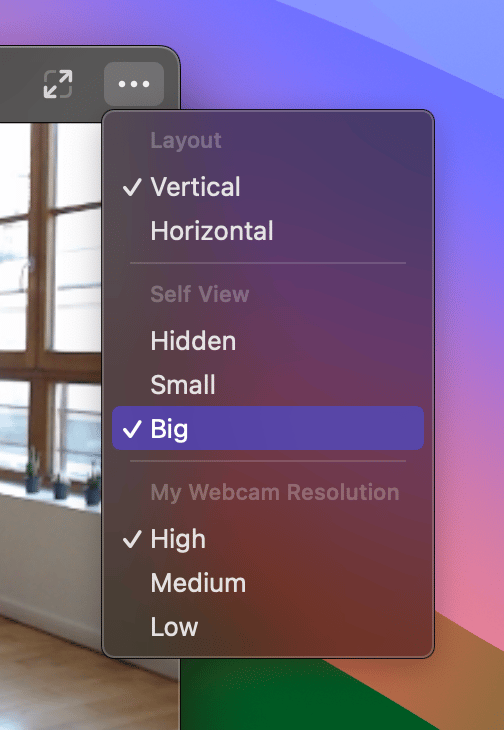
Participant controls
Click another participant’s webcam tile to open its menu. Depending on the participant’s current state, you can:- Ask to Share Screen
- Ask to Share Webcam
- Ask to Unmute
- Mute Audio
- Kick them from the call
Changing the webcam in use while sharing
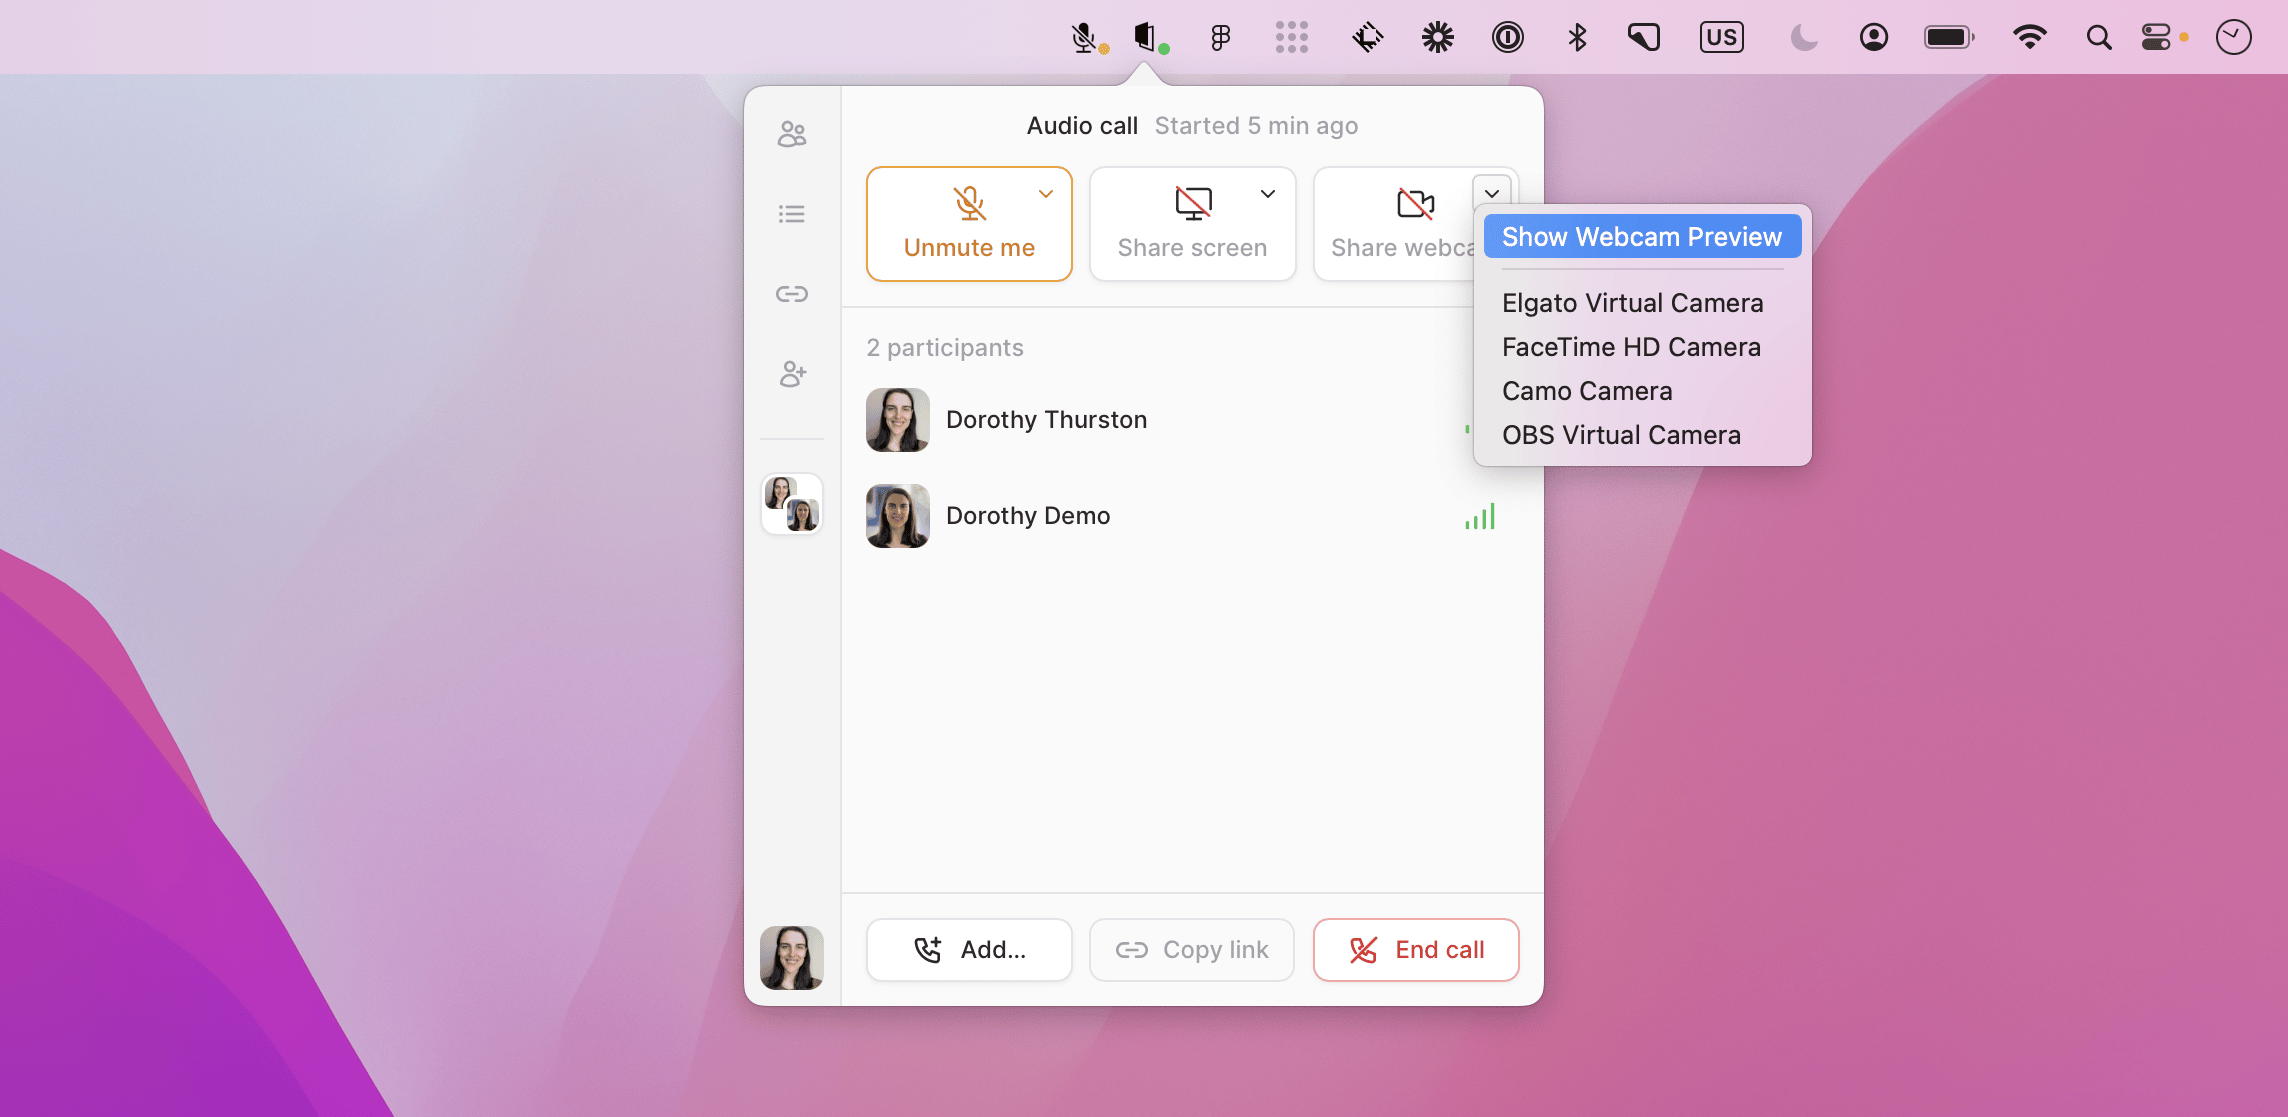
You can swap out the webcam in use when you are sharing a webcam by selecting the camera you’d prefer to share by selecting it from the dropdown:Using effects on your webcam
On supported Macs, macOS provides free background blur and other camera effects that work with Tuple. While your webcam is active, open the camera indicator in the menu bar and enable Portrait. Availability depends on your Mac and camera; see Apple’s requirements.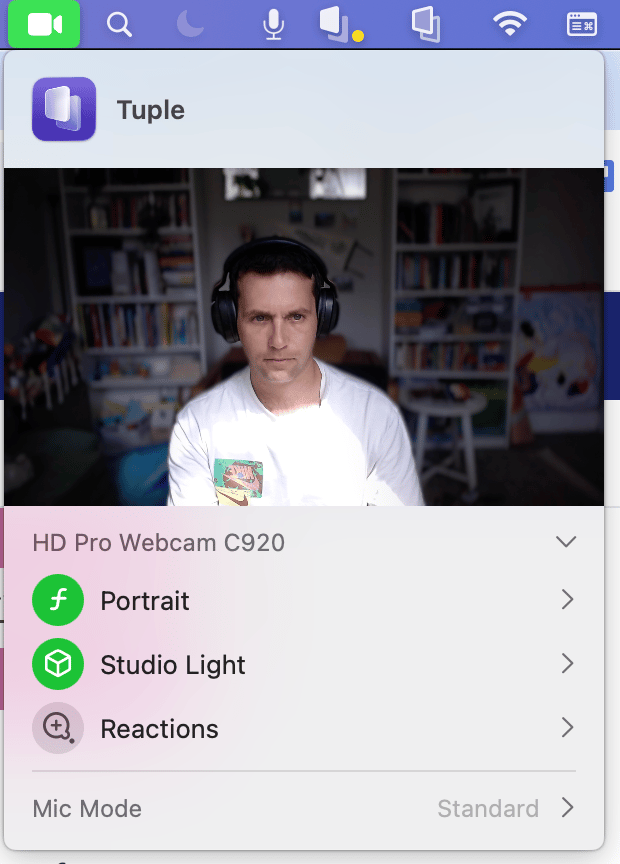
Setting your webcam resolution preference
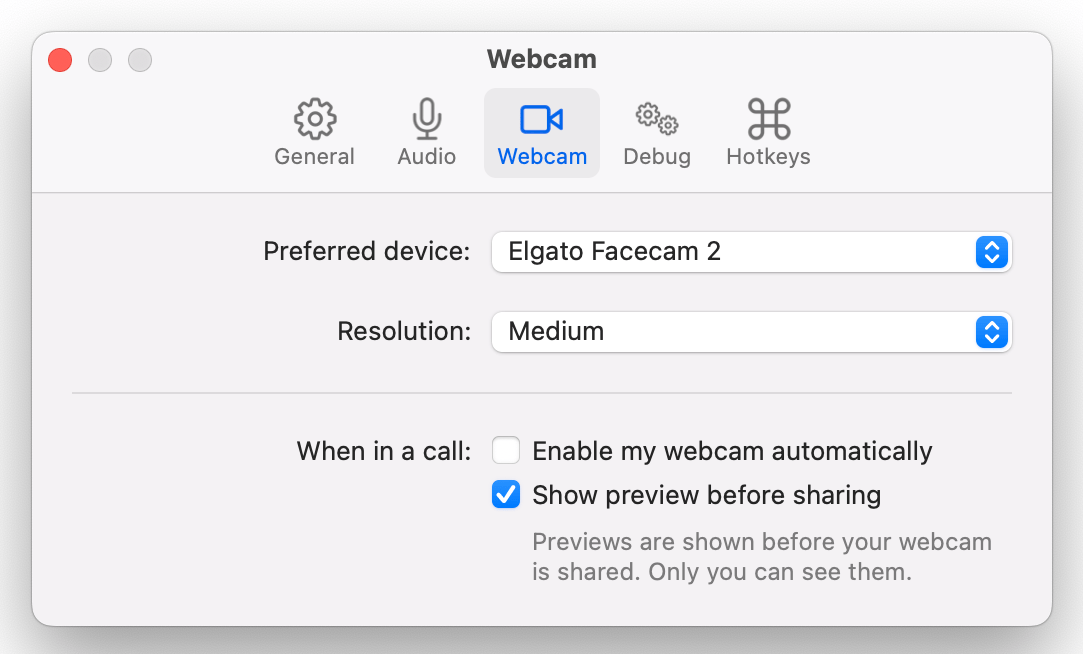
You can set the webcam resolution in your preferences. Setting the resolution will automatically change the resolution on any current calls.You might need to tweak your resolution depending on your network connection. If you have a high-speed connection and want maximum webcam quality, set your preference to high. If you’re working with a relatively poor connection, set your preference to medium: