
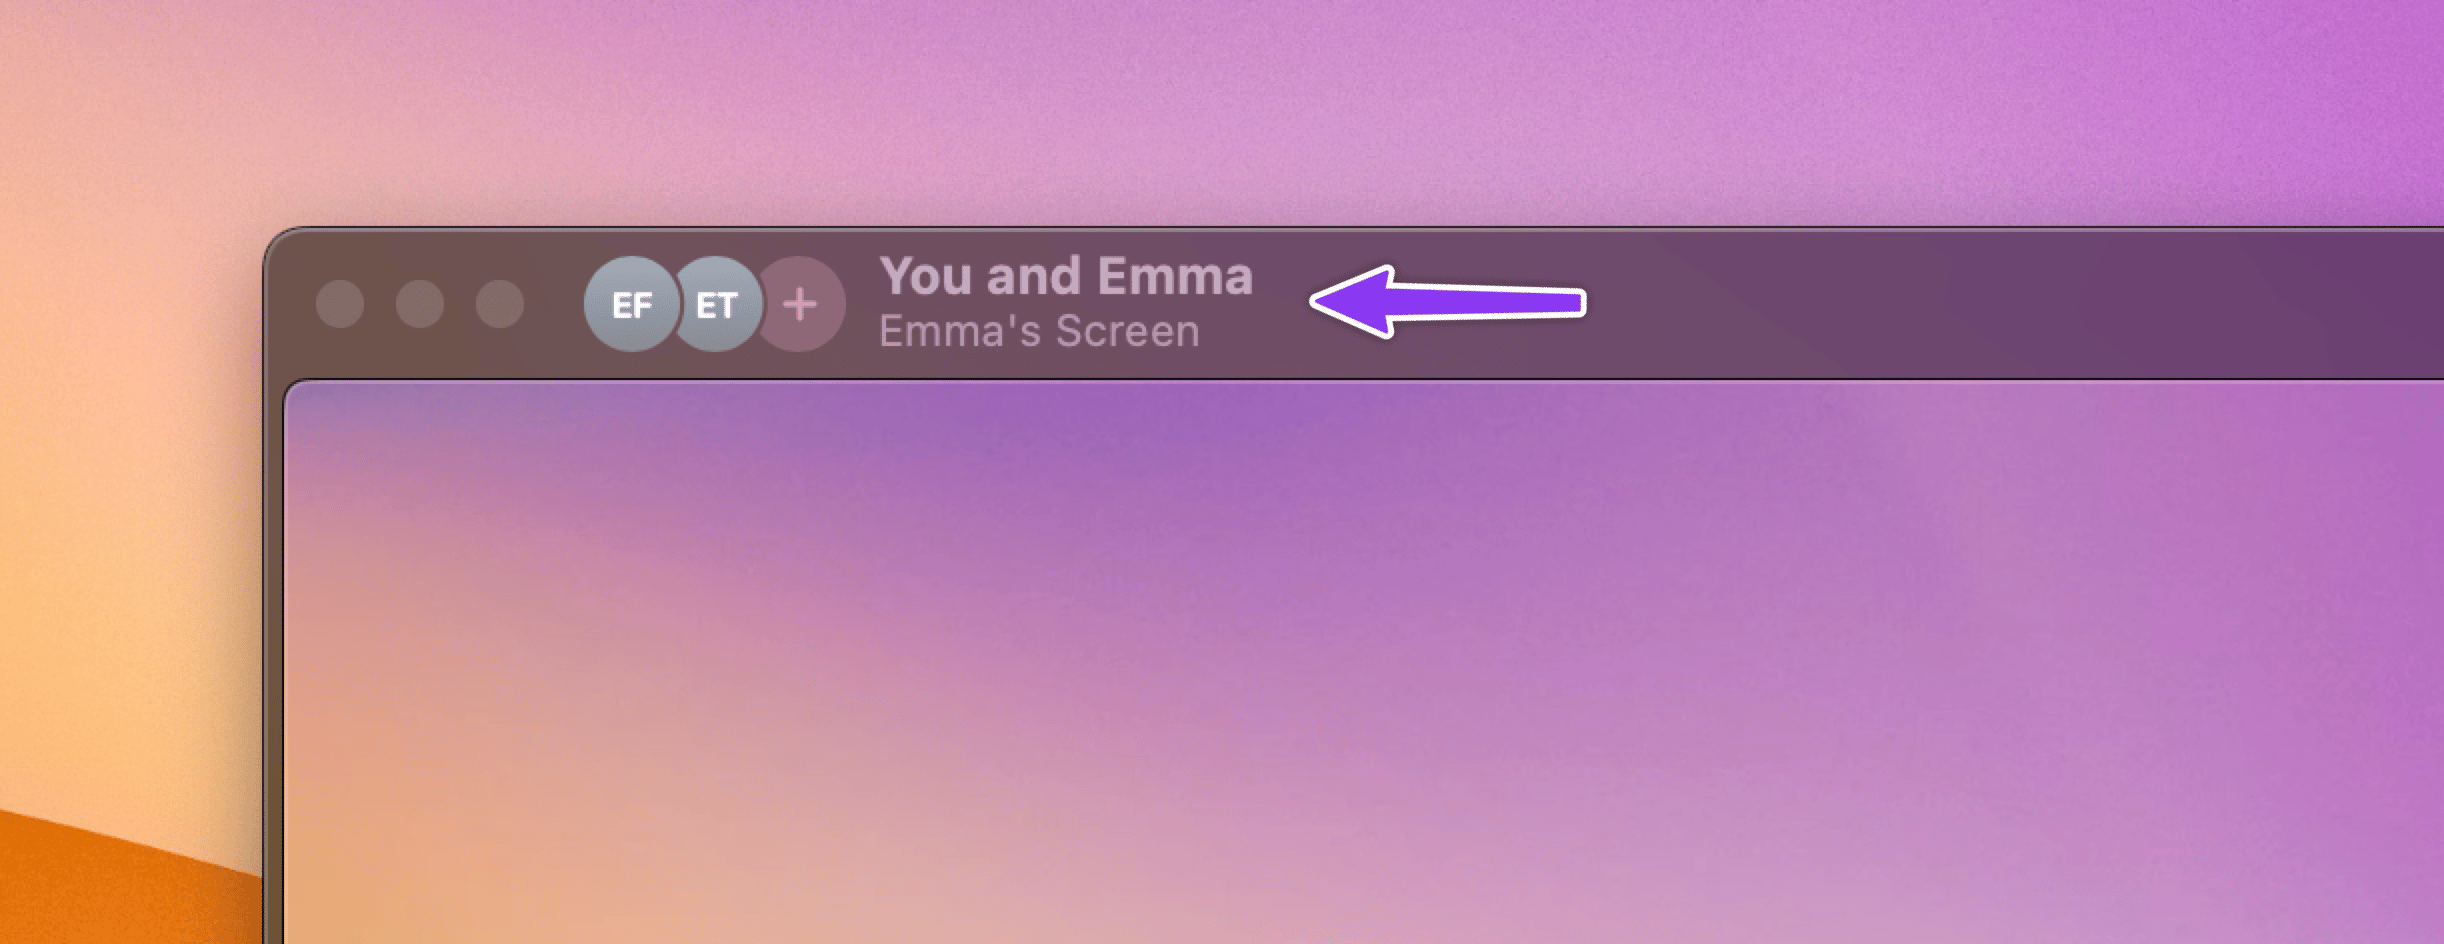
Participant Display
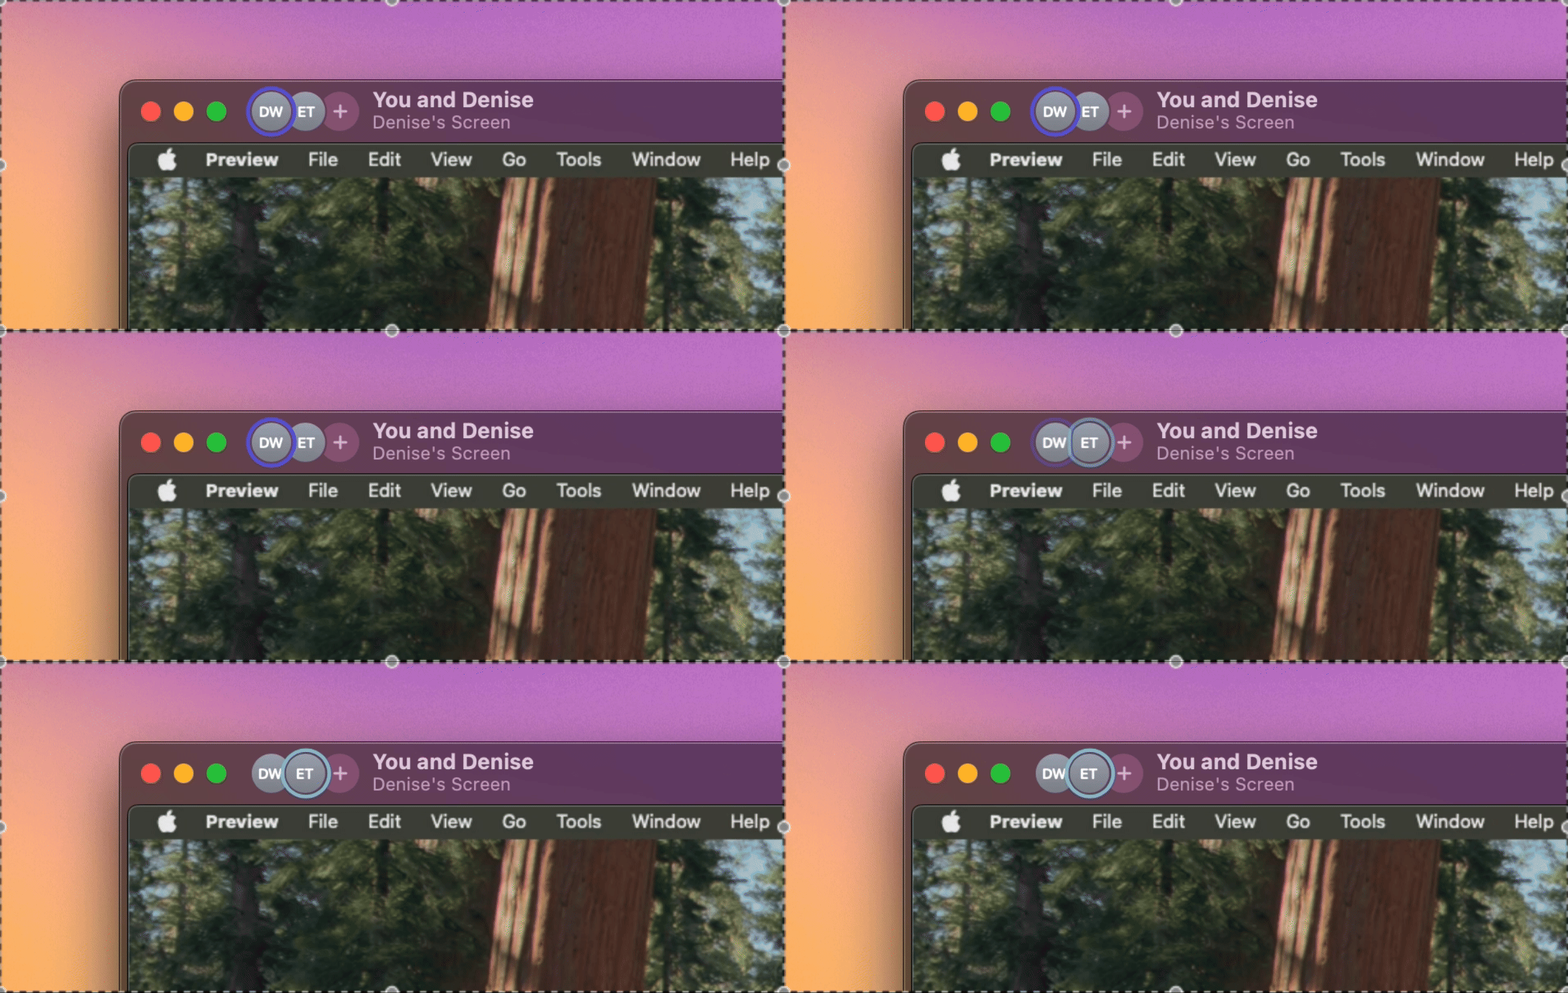
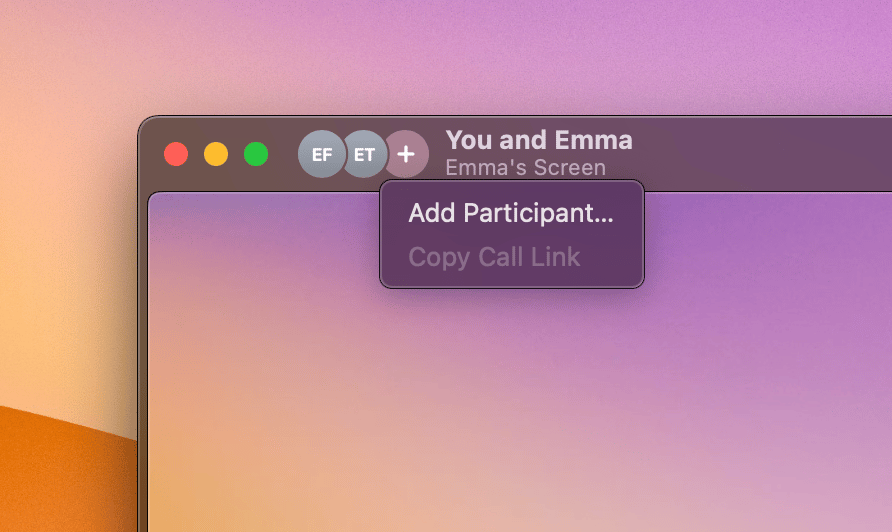
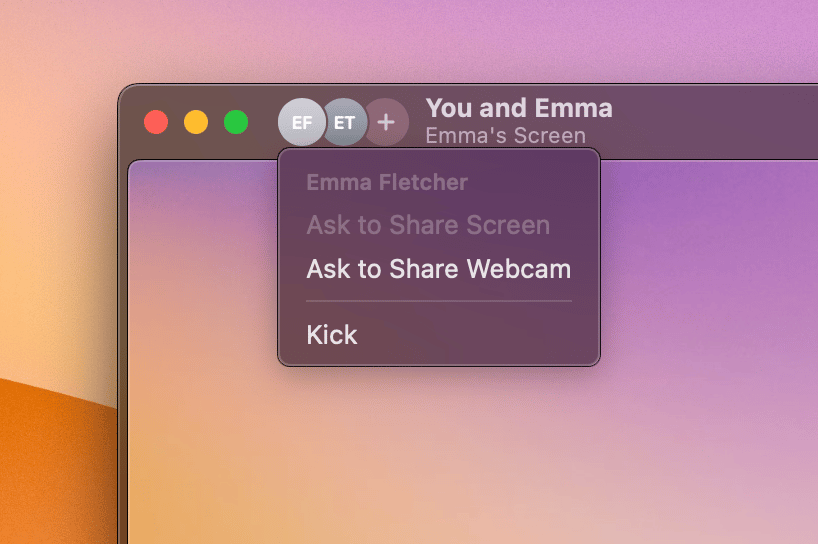
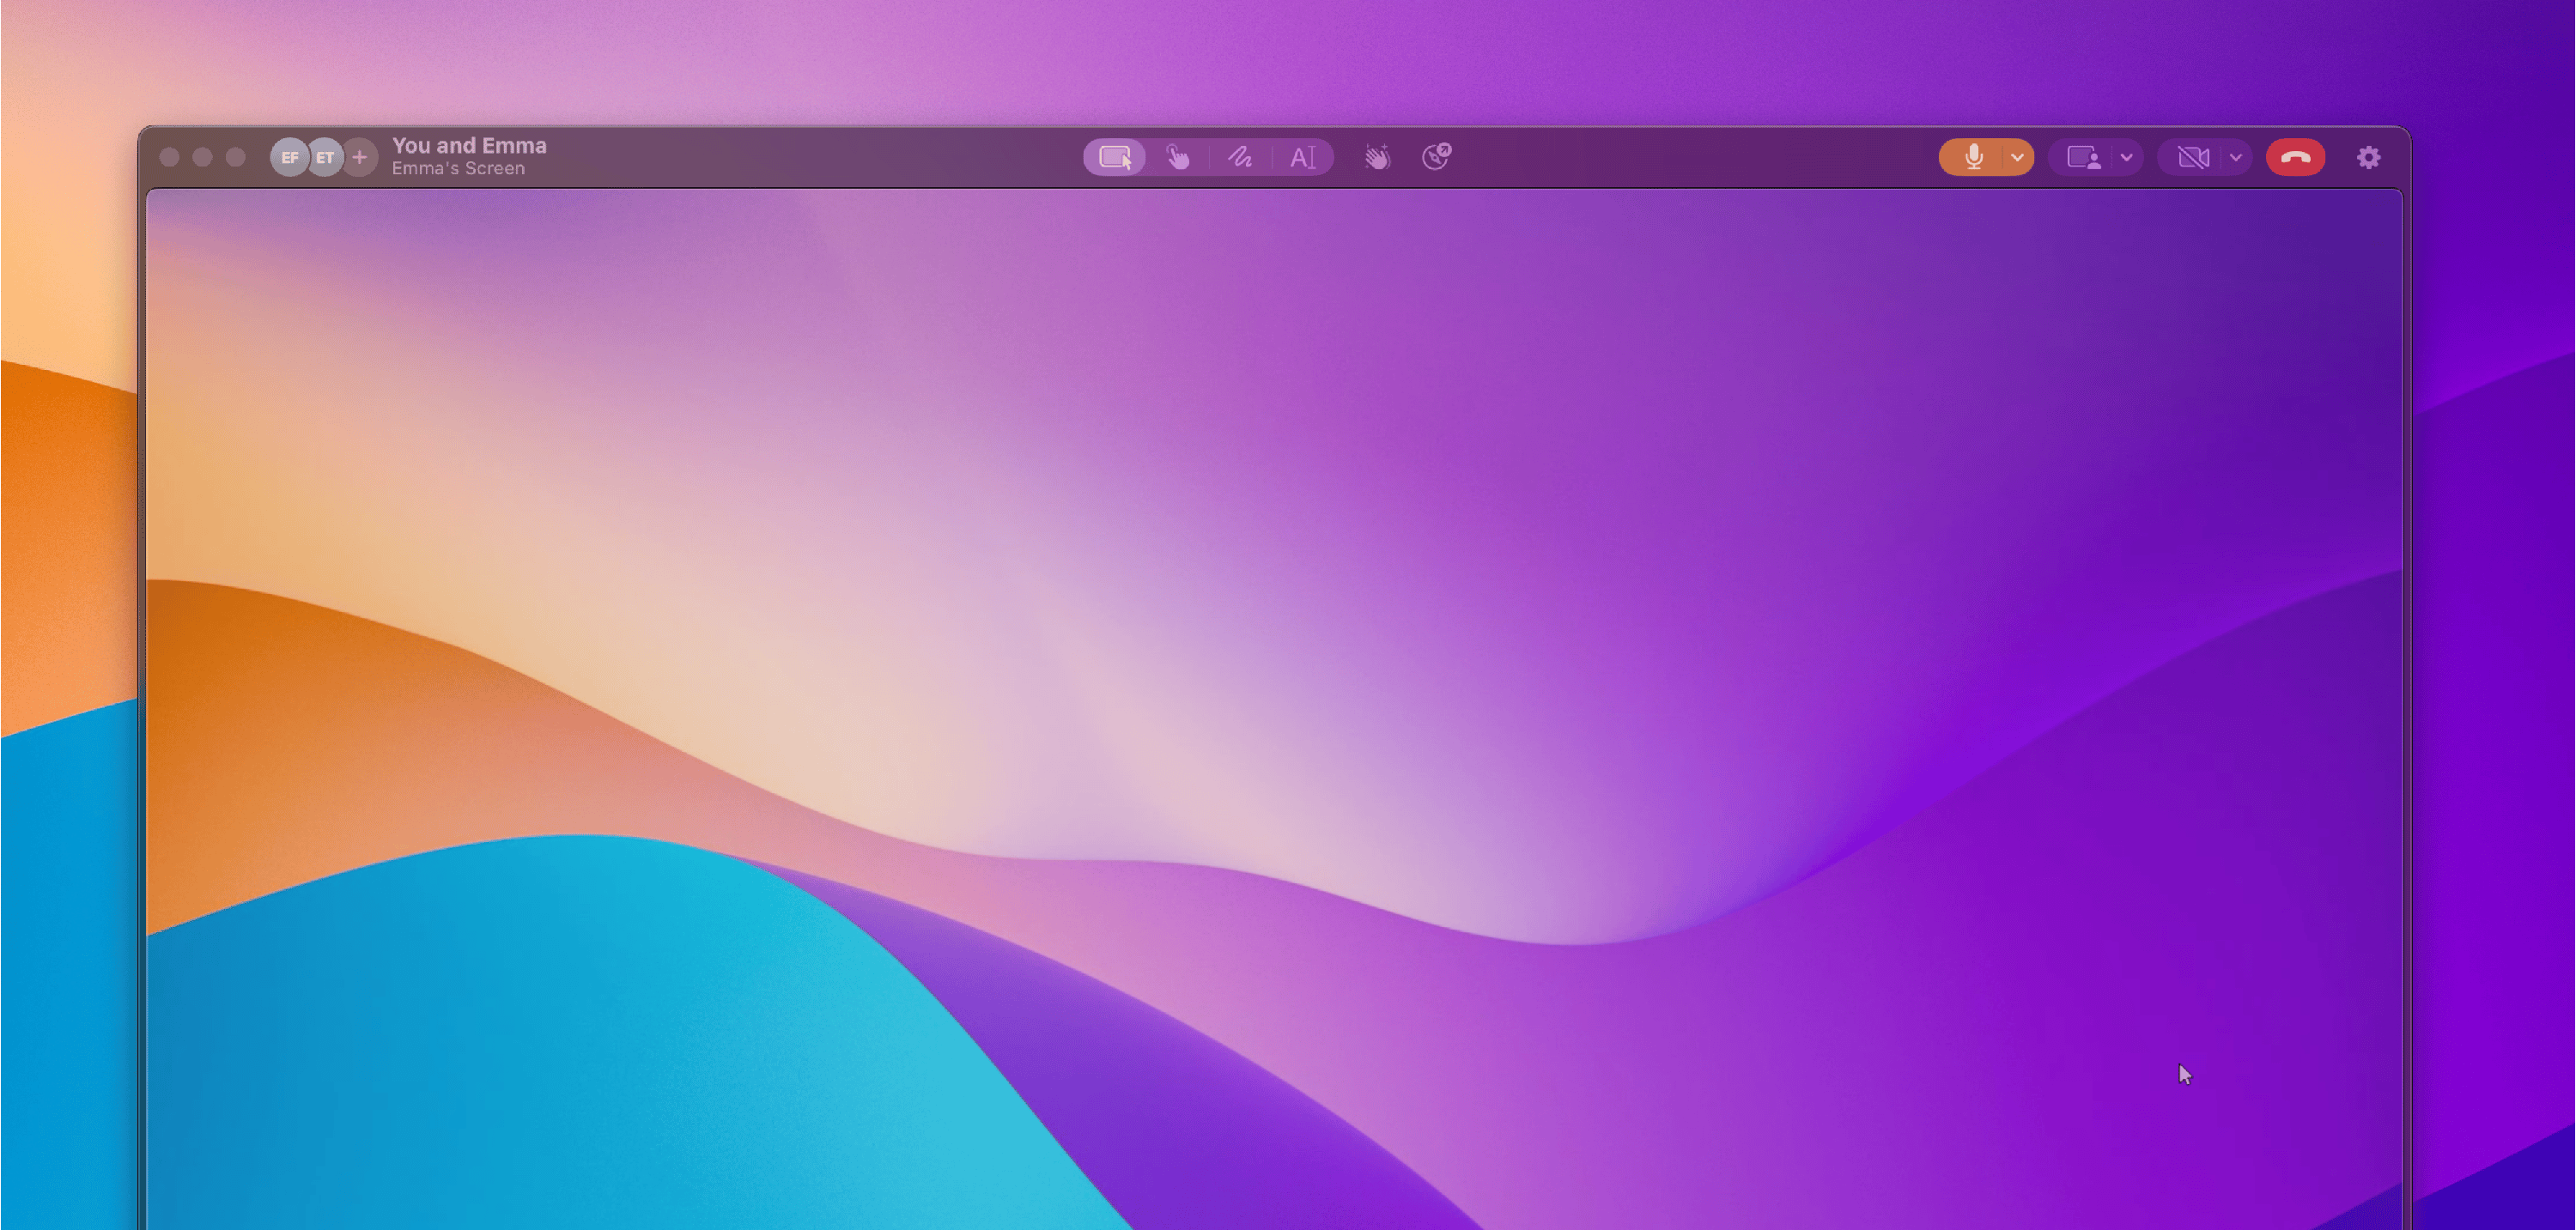
Shared Screen Tools
Tuple has a number of tools that allow you to interact with a shared screen:Remote Control
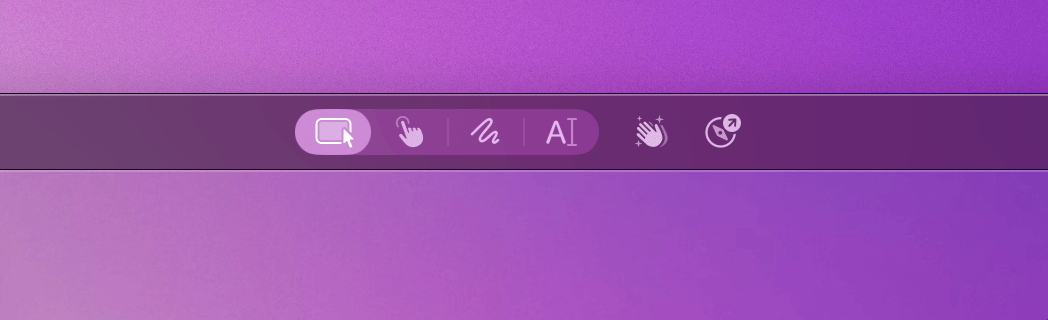
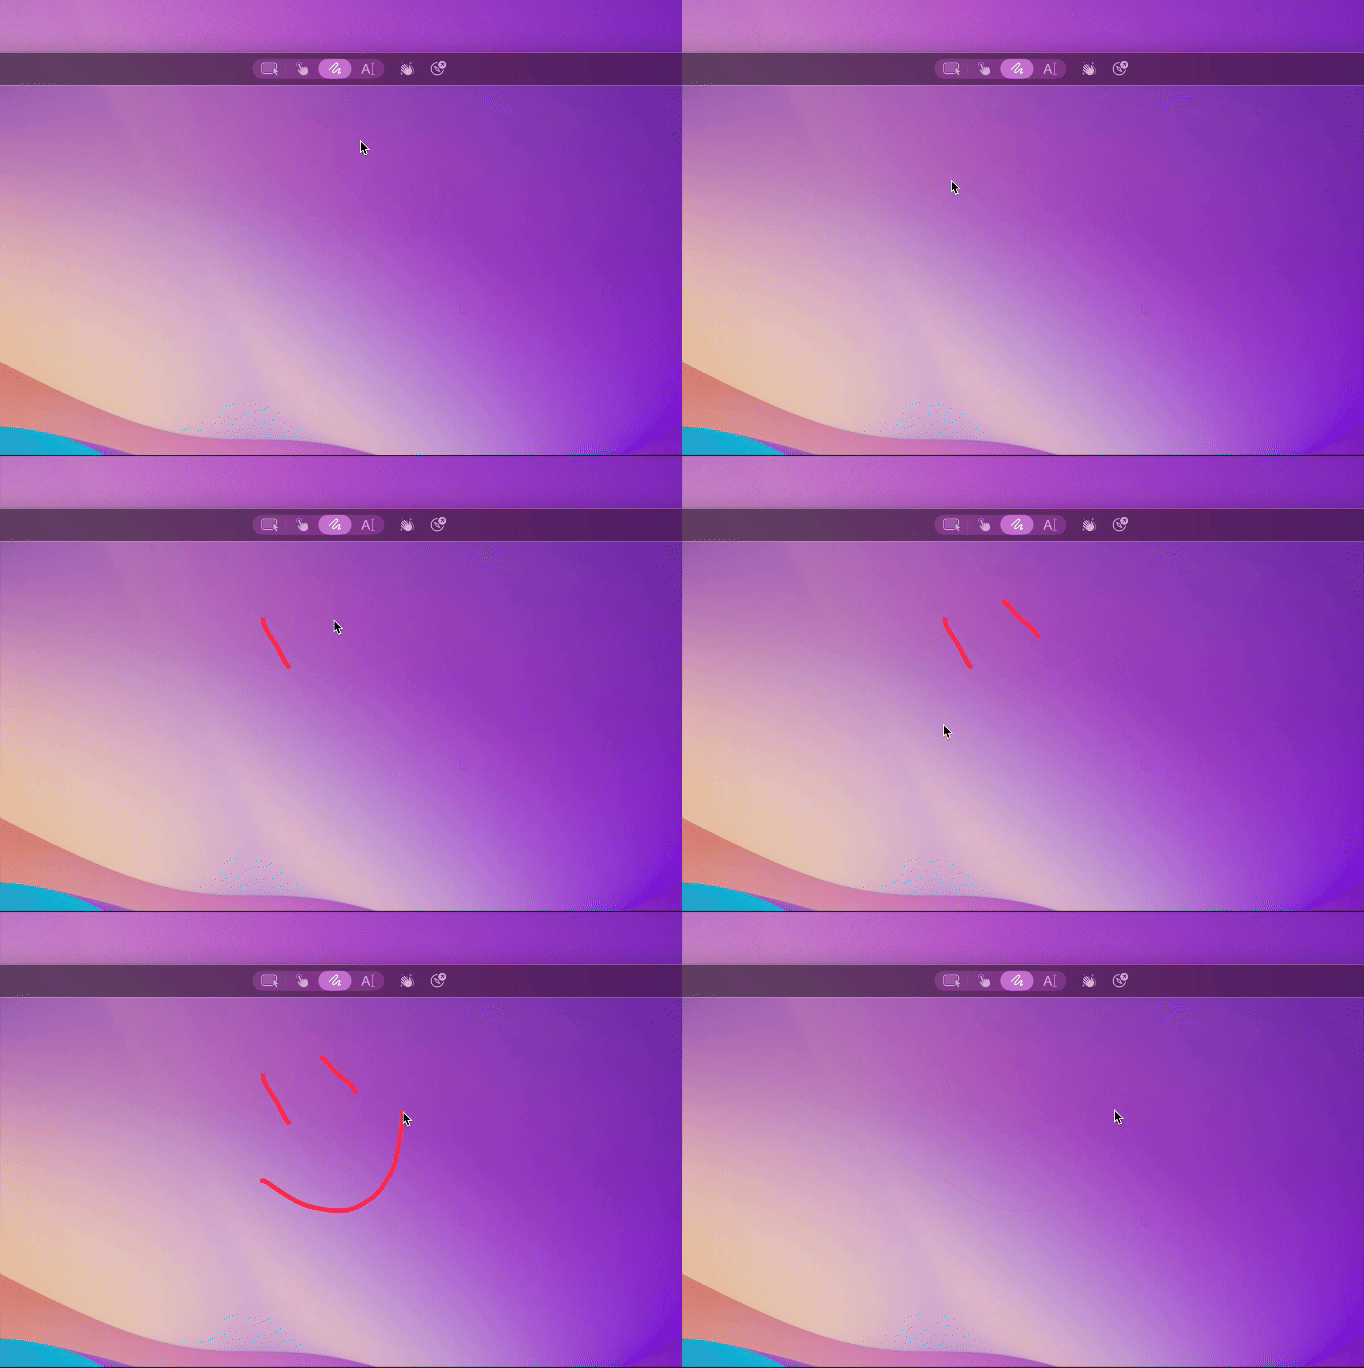
Paint
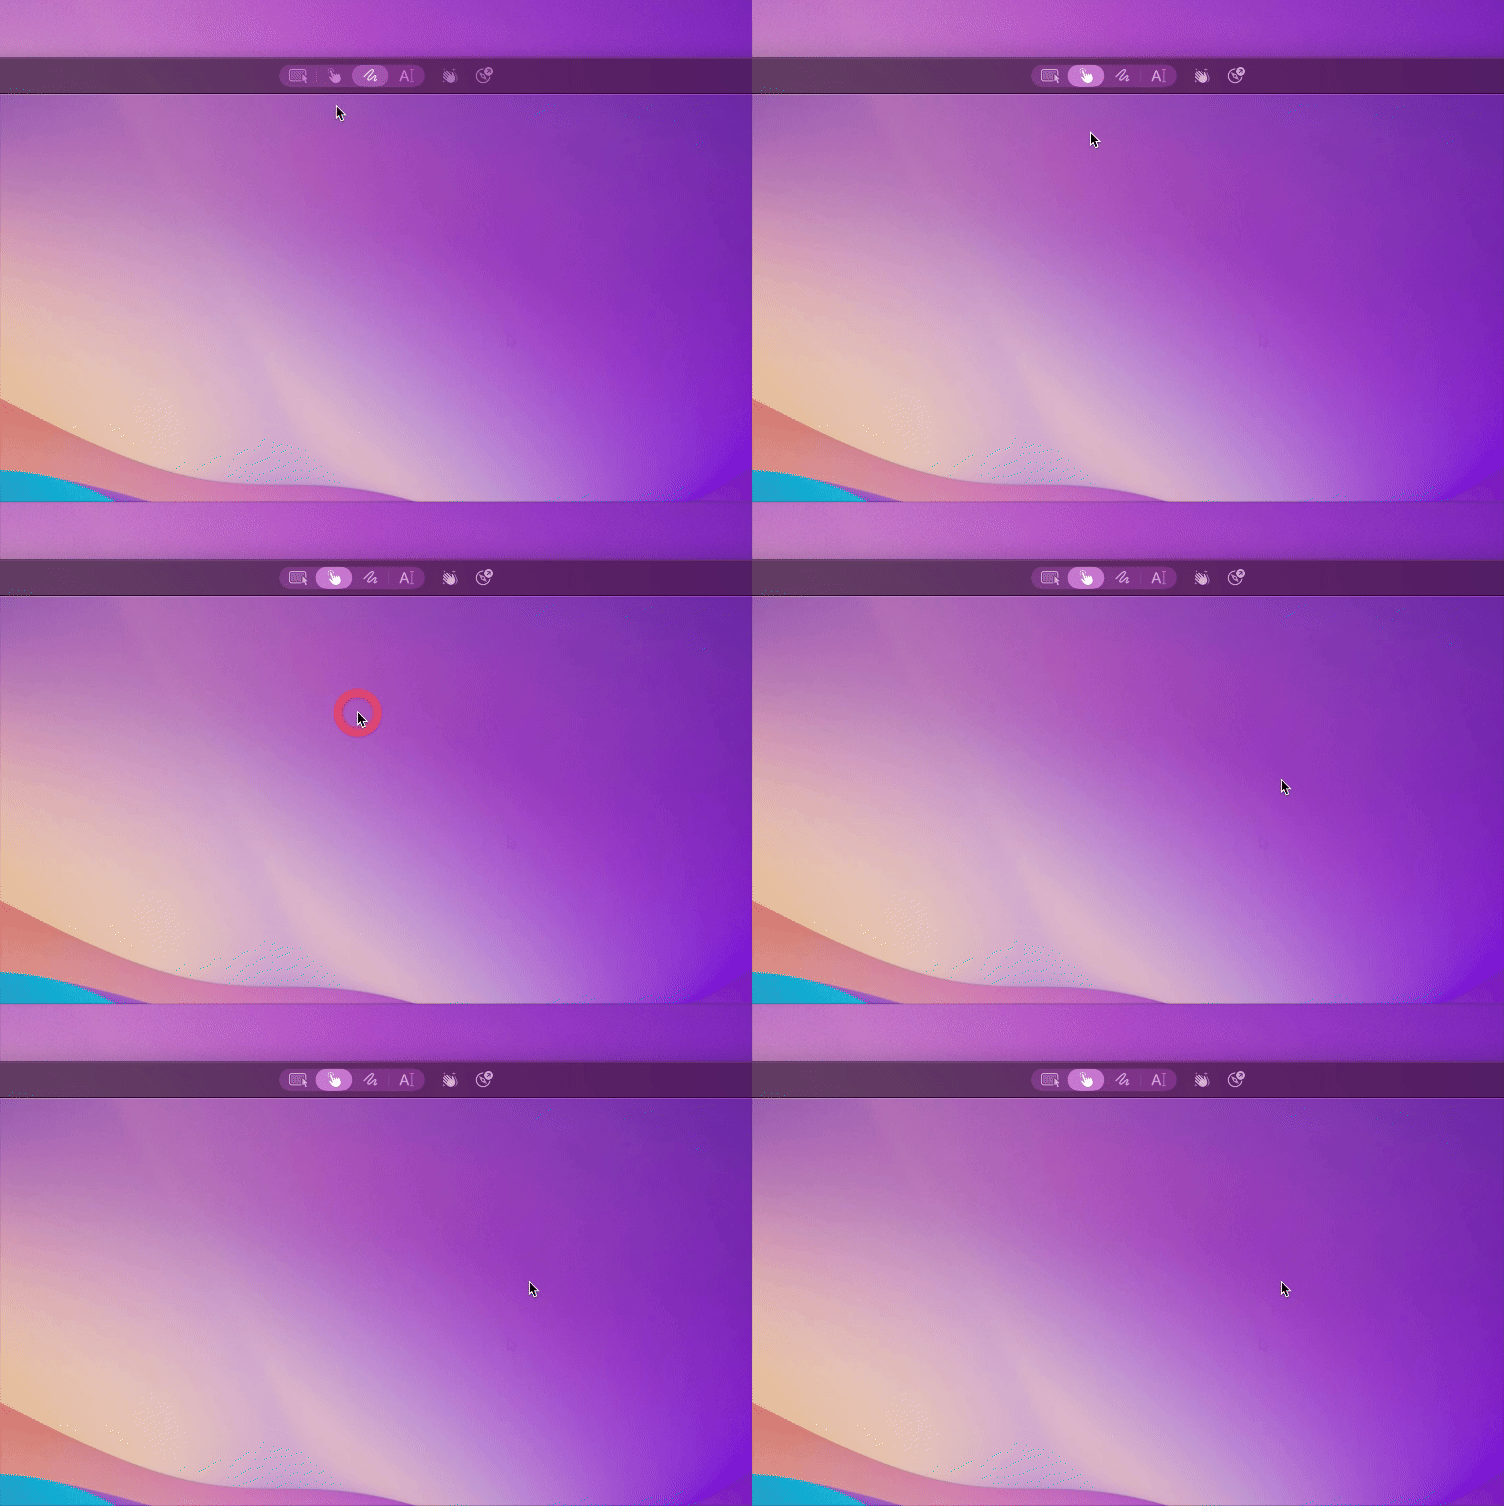
Highlight Click
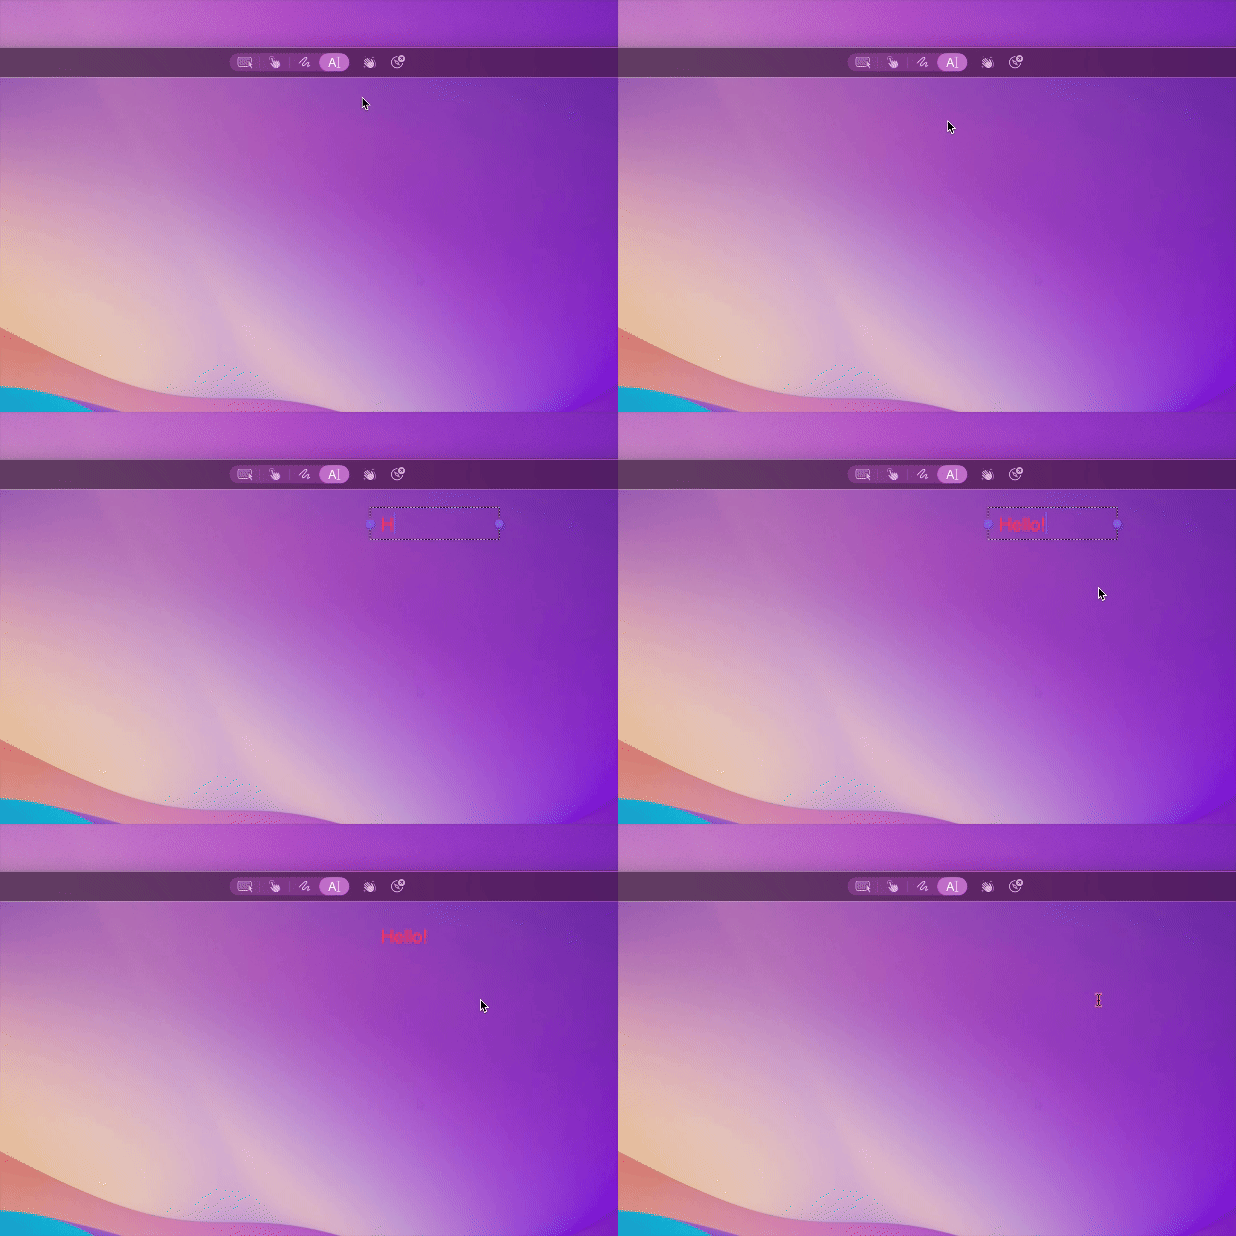
Text Annotation
Ctrl+Cmd+Space).Reactions
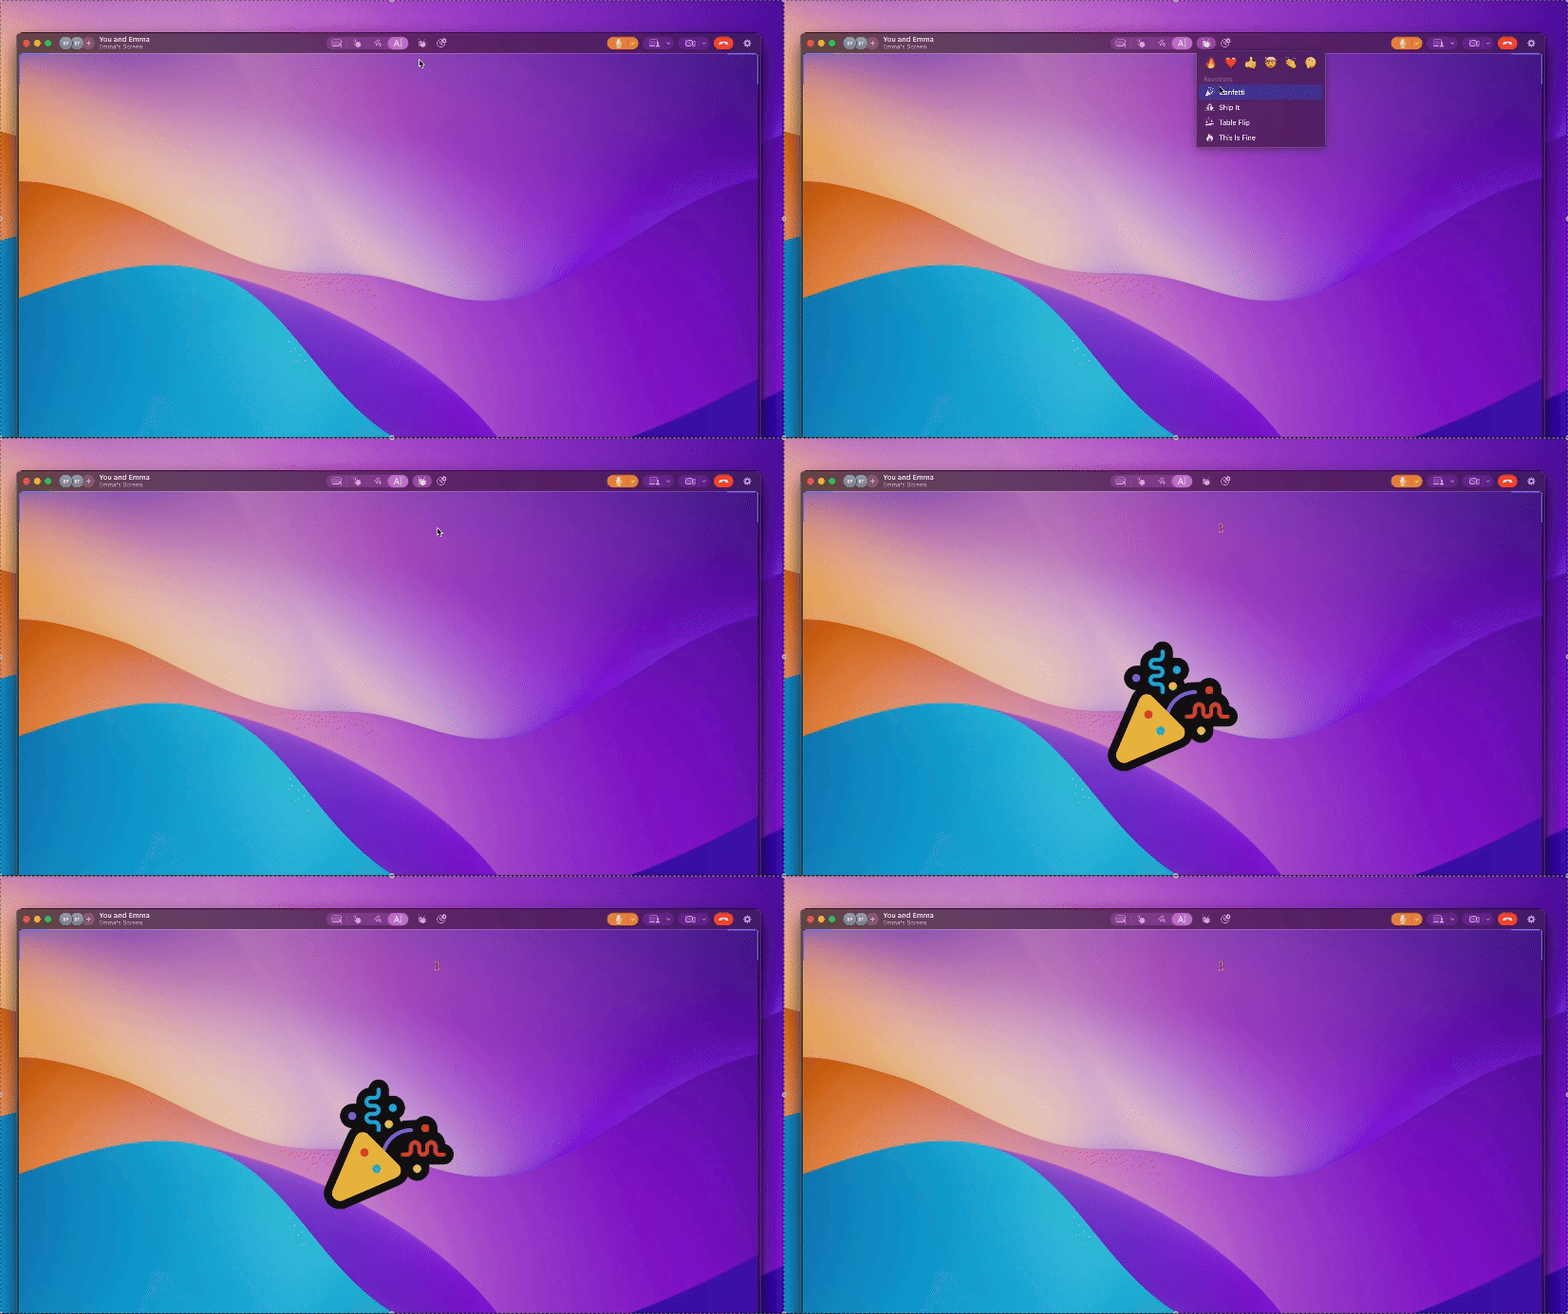
Send GIF
You can send animated GIFs during a call to bring a bit of fun into your pairing session (powered by Klipy). Click the Send Reaction button in the toolbar, then select Send GIF… at the bottom of the menu.This opens a GIF picker where you can search for something specific. There are three ways to send a GIF:- Click to send: hover over a GIF to reveal the send button, then click it to place the GIF on the shared screen.
- Double-click: double-click any GIF to send it immediately.
- Drag to place: drag a GIF out of the picker and drop it anywhere on the shared screen to place it at that exact spot.
Zoom Tool
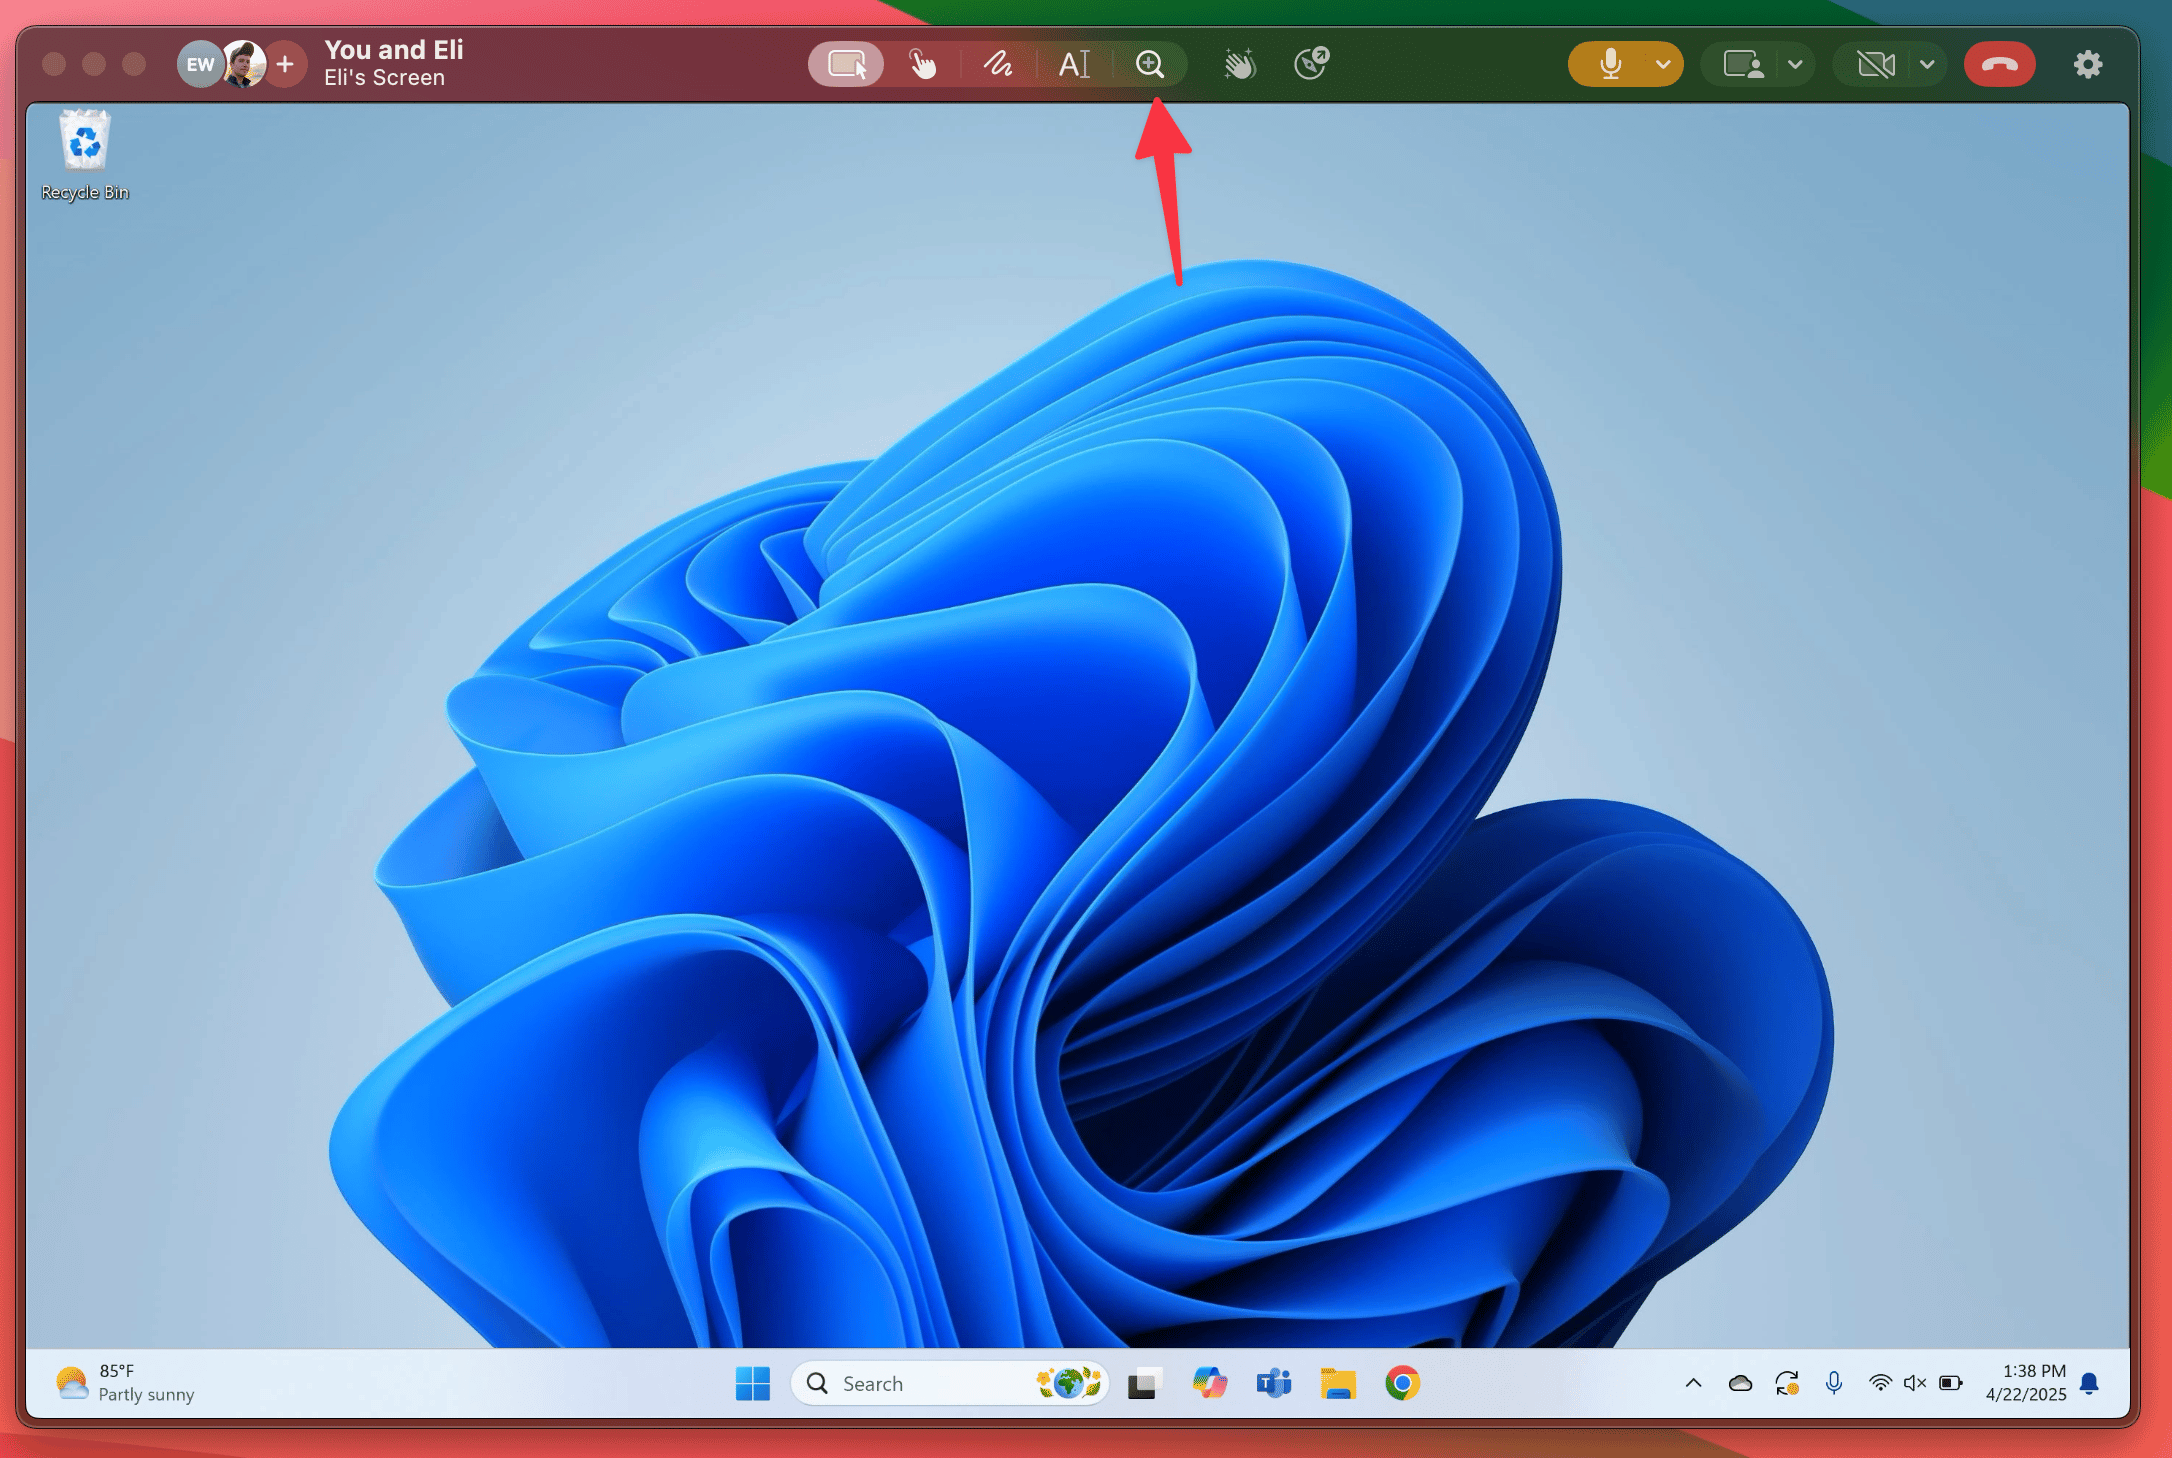
- Left click will zoom in; both Option + left click and right click will zoom out
- Double click zooms all the way in; double click when zoomed all the way in will zoom all the way back out again
- Pinch in (on a trackpad) will zoom in; pinch out will zoom out
- Command + scroll wheel / two finger scroll will zoom in and out (the zoom direction will respect your “Natural scrolling” setting in macOS)
- The zoom buttons in the lower right hand corner of the screen also allow you to zoom in and out
- Holding space while clicking and dragging will allow you to pan (your cursor will change into a hand)
- Using the scroll wheel will pan up and down; if your mouse has a trackball that supports horizontal scrolling, that will work as well
- Holding down the scroll wheel (also sometimes called the “third button”) will pan
- You can use two fingers to pan (on a trackpad)
- Panning can also be toggled on using the pan button in the lower right hand corner
- Command +
+will zoom in, Command +-will zoom out - Command + 0 will make the shared screen the same resolution as your native resolution
- Command + 9 will zoom to fit the shared screen into the screen share window
- Option + left click will zoom in; Option + command + left click or Option + right click will zoom out
- Option + double click zooms all the way in; Option + double click when zoomed all the way in will zoom all the way back out again
- Holding Option + scroll wheel / two finger scroll will zoom in and out
- Holding Option + pinching in (on a trackpad) will zoom in; Option + pinch out will zoom out
- You can hold Option and use two fingers to pan (on a trackpad)
- Holding space while clicking and dragging will allow you to pan
- Option + holding down the scroll wheel (also sometimes called the “third button”) will pan
- The Zoom button stays visible when zooming is unavailable. Click the disabled button to see why.
- You’re not able to zoom in further than your own native resolution
- You won’t be able to pan around if you haven’t zoomed in
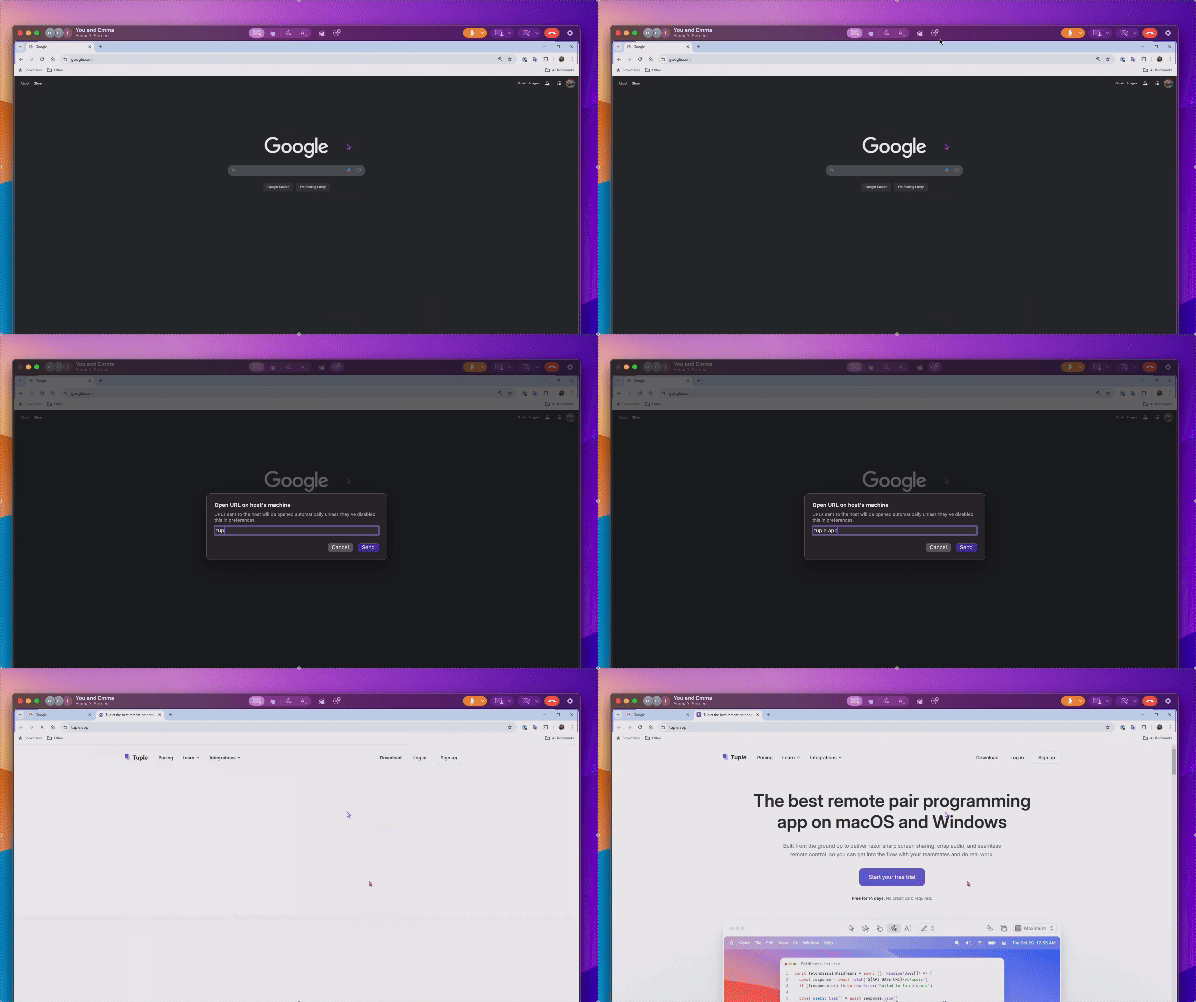
Send Link
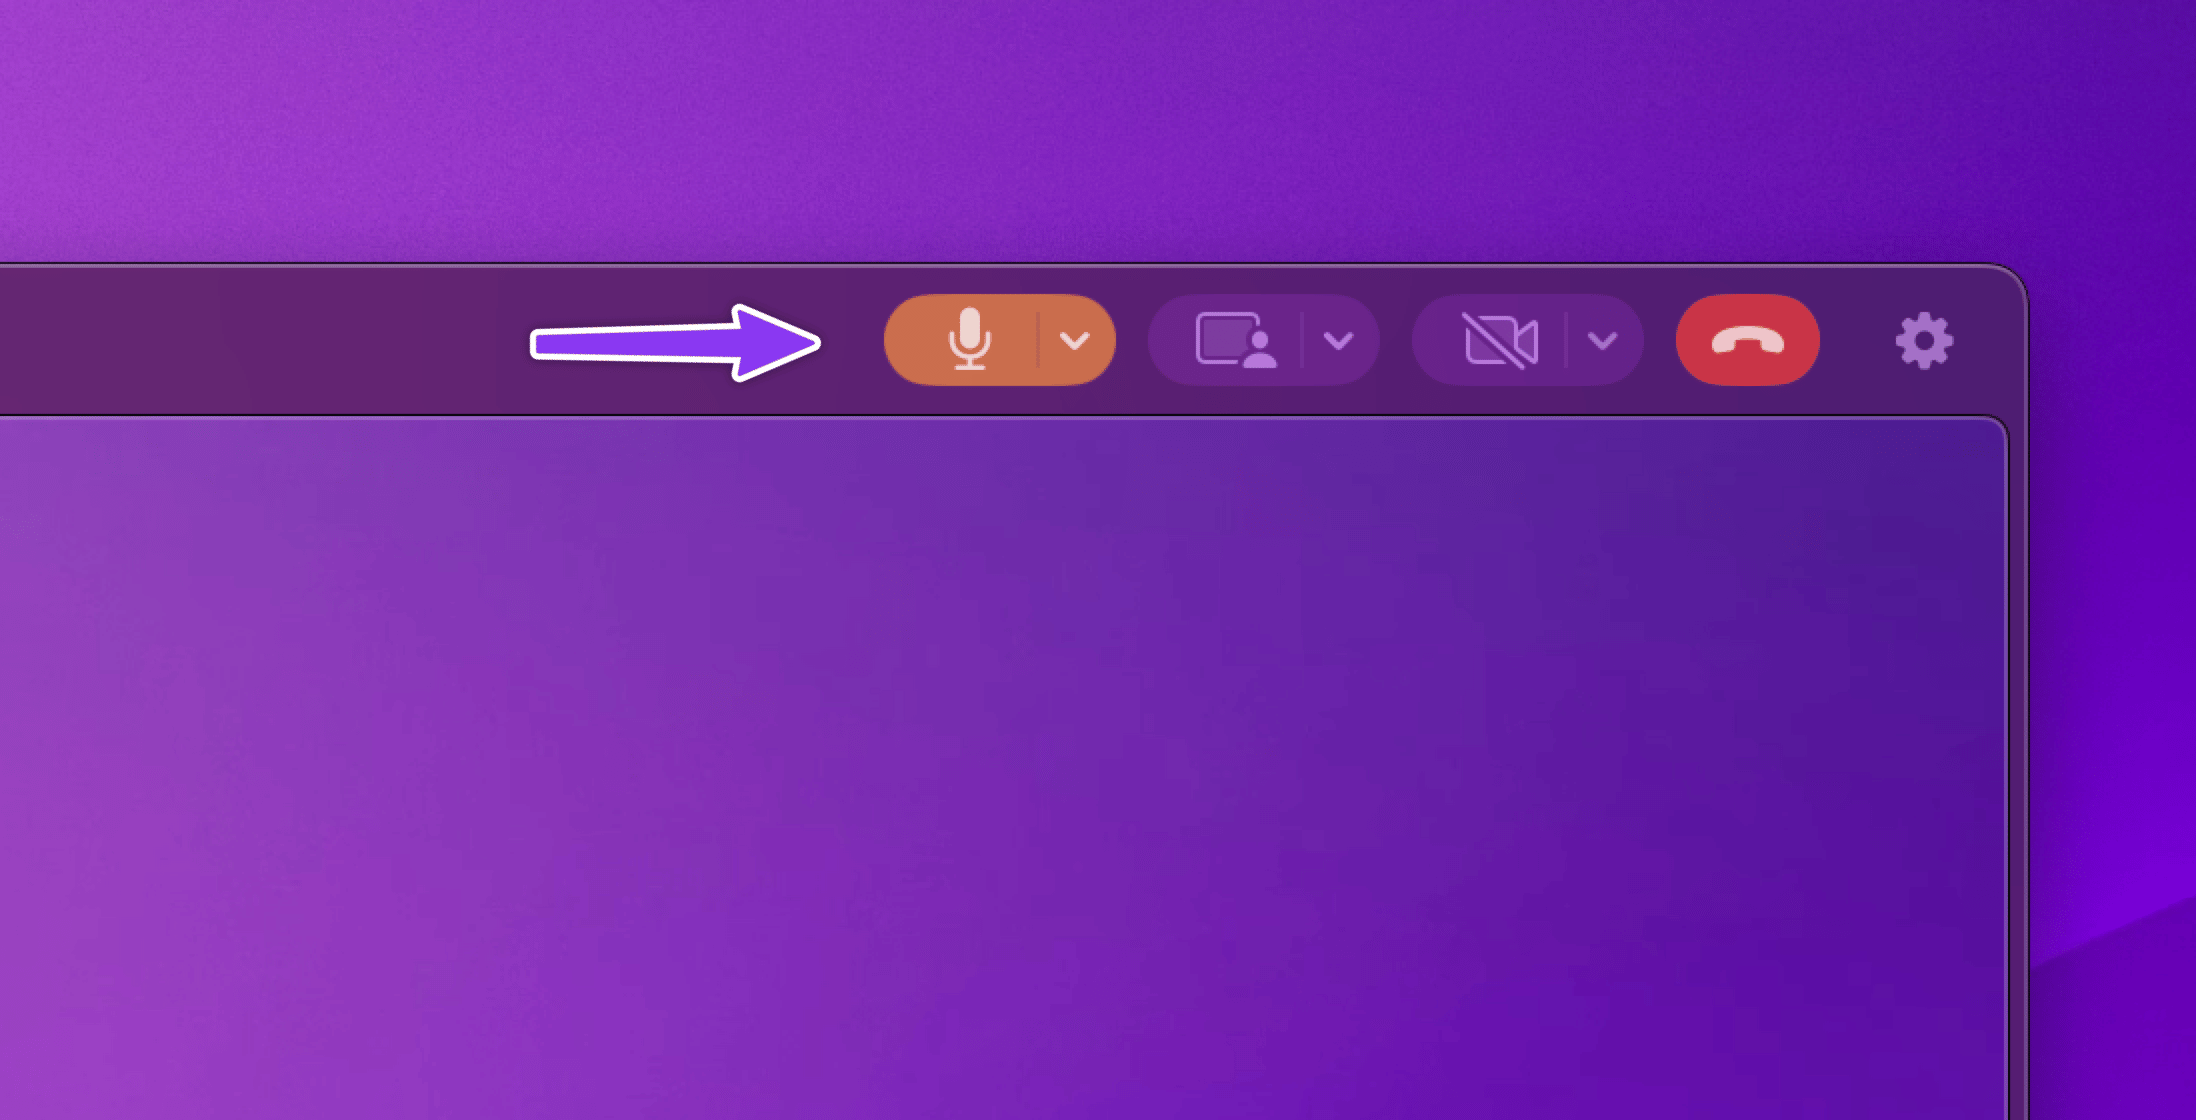
A/V Controls
Settings
Cursor color
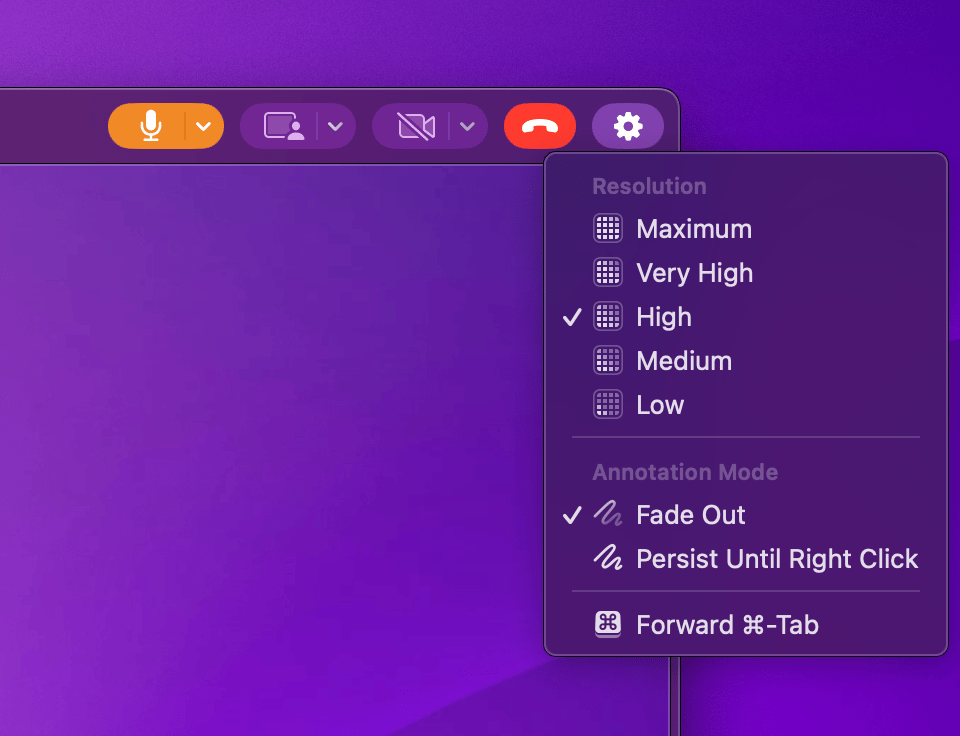
The swatches at the top of the menu set the color used for your cursor, paint strokes, text annotations, and highlight clicks. Pick one to keep the same color on every call, or choose Automatic to let Tuple assign you a free color each call.This is the same setting as Cursor color in the Screen Share preferences pane, so changing it in either place keeps both in sync.Stream resolution
The initial Stream Resolution setting is based on the call initiator’s preference but can be temporarily modified by the guest during a call.If you aren’t doing a lot of typing or clicking on the shared screen, you should crank this up to get the sharpest image. However, if you want very snappy responses to your keystrokes, then you can get lower latency by reducing the resolution of the video.Paint persistence
You can choose whether you want drawings done with the paint tool to fade after 2 seconds, or persist until you right click.Forwarding command-tab
You can toggle whether you want the command-tab key sequence to be sent to the host or not.Upscale Content
On Apple Silicon Macs, you can toggle Upscale Content to sharpen the incoming screen share video. This runs locally on your machine, so it only changes how the shared screen looks on your display — it doesn’t affect the resolution other participants receive.This toggle and the Upscale content checkbox in the Screen Share preferences pane control the same setting, so changes in either place stay in sync. If the menu item doesn’t appear, your Mac isn’t on Apple Silicon or upscaling is disabled for your account.A note about fullscreen
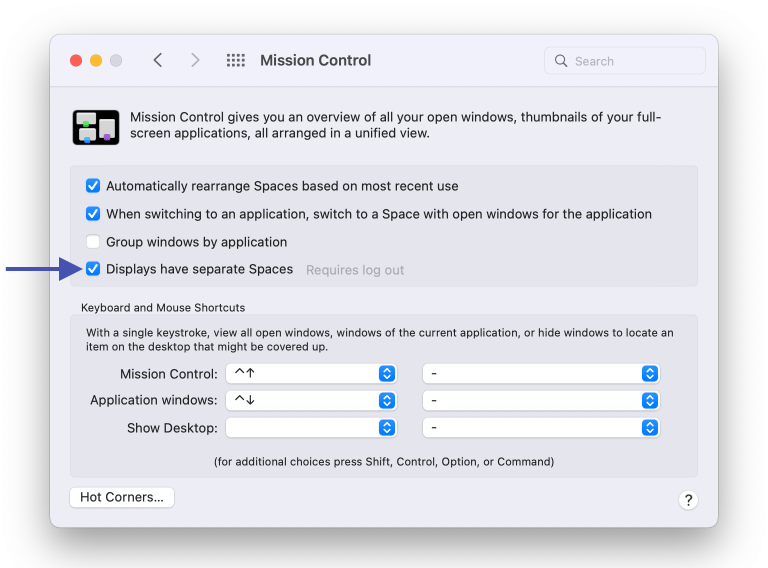
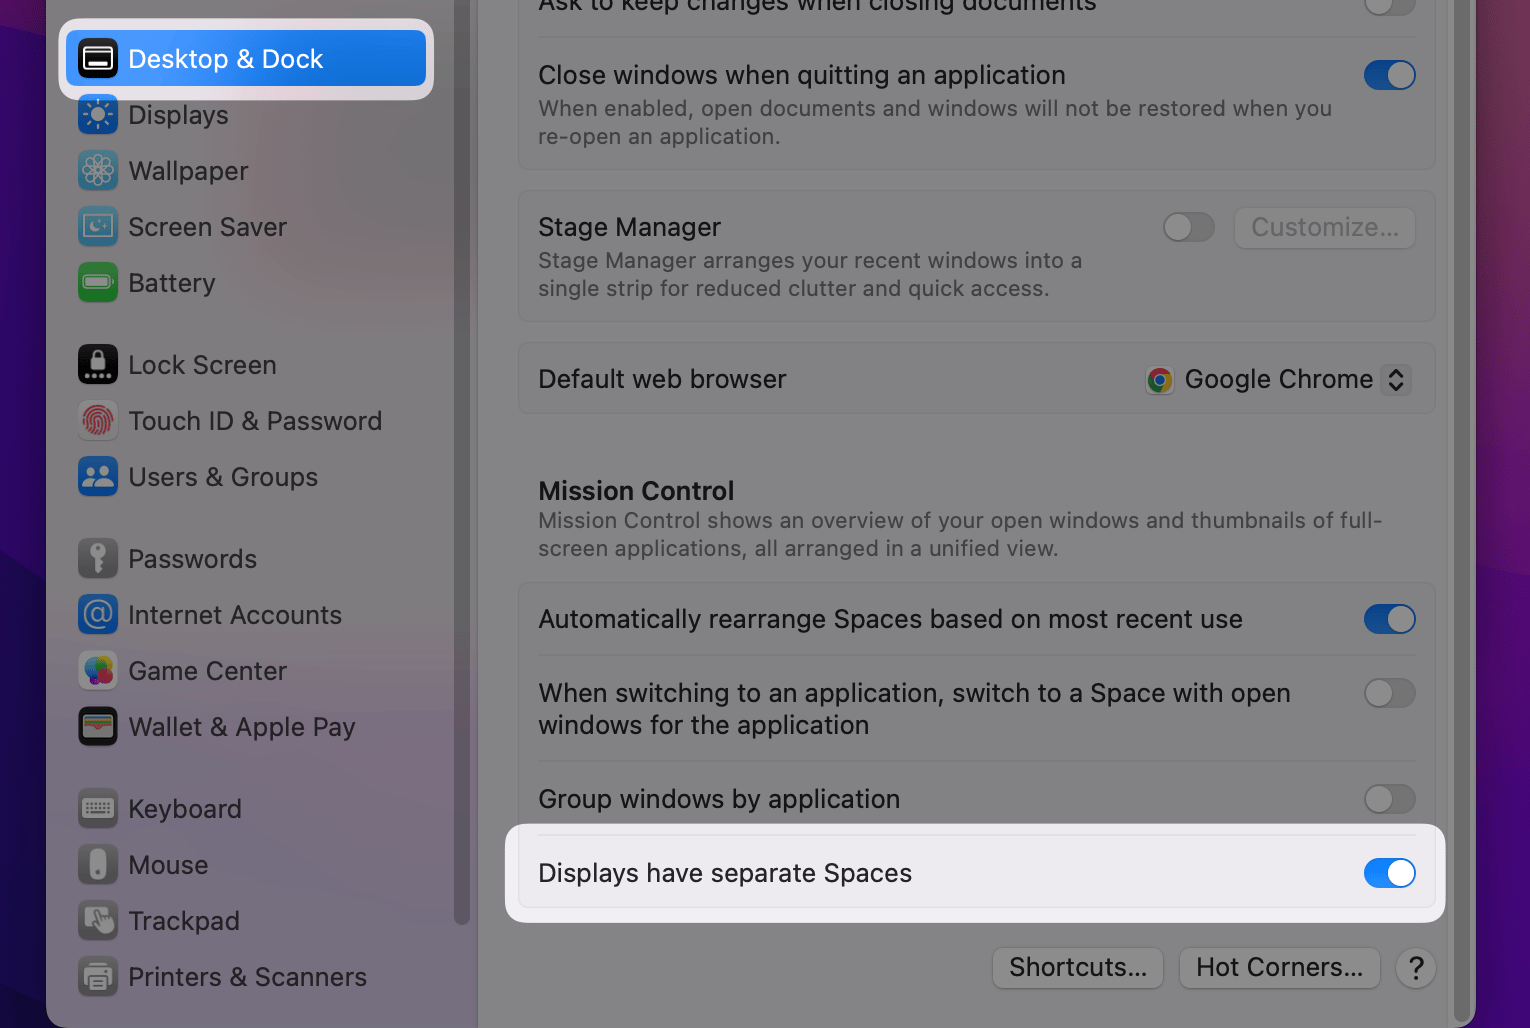
Tuple only allows fullscreen when the macOS setting ‘Displays have separate spaces’ is turned on. You can find that setting in System Preferences > Mission Control: