Email addresses in and Tuple must match exactly. For example,
dev+tuple@company.com does not match dev@company.com. Verify your team’s email addresses before enabling SSO.1
Create a SAML connector
After signing in to your OneLogin account, click Applications > Applications in the top navigation bar.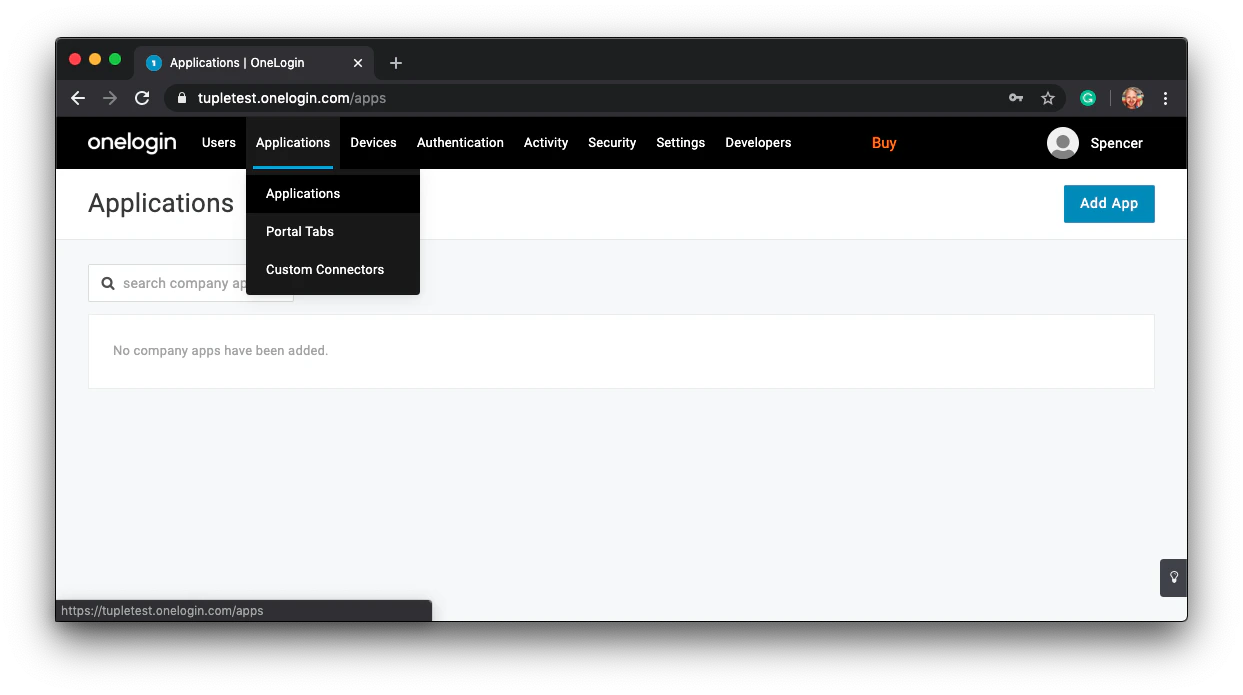
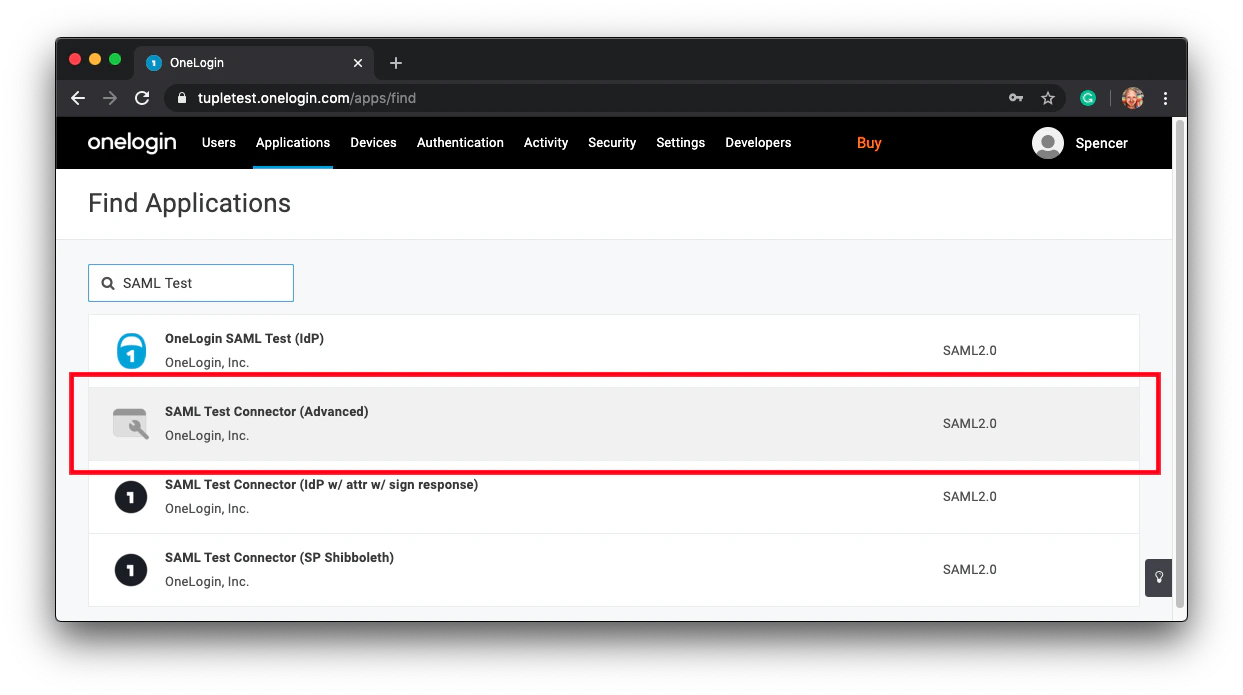
SAML Test and select SAML Test Connector (Advanced) from the results.2
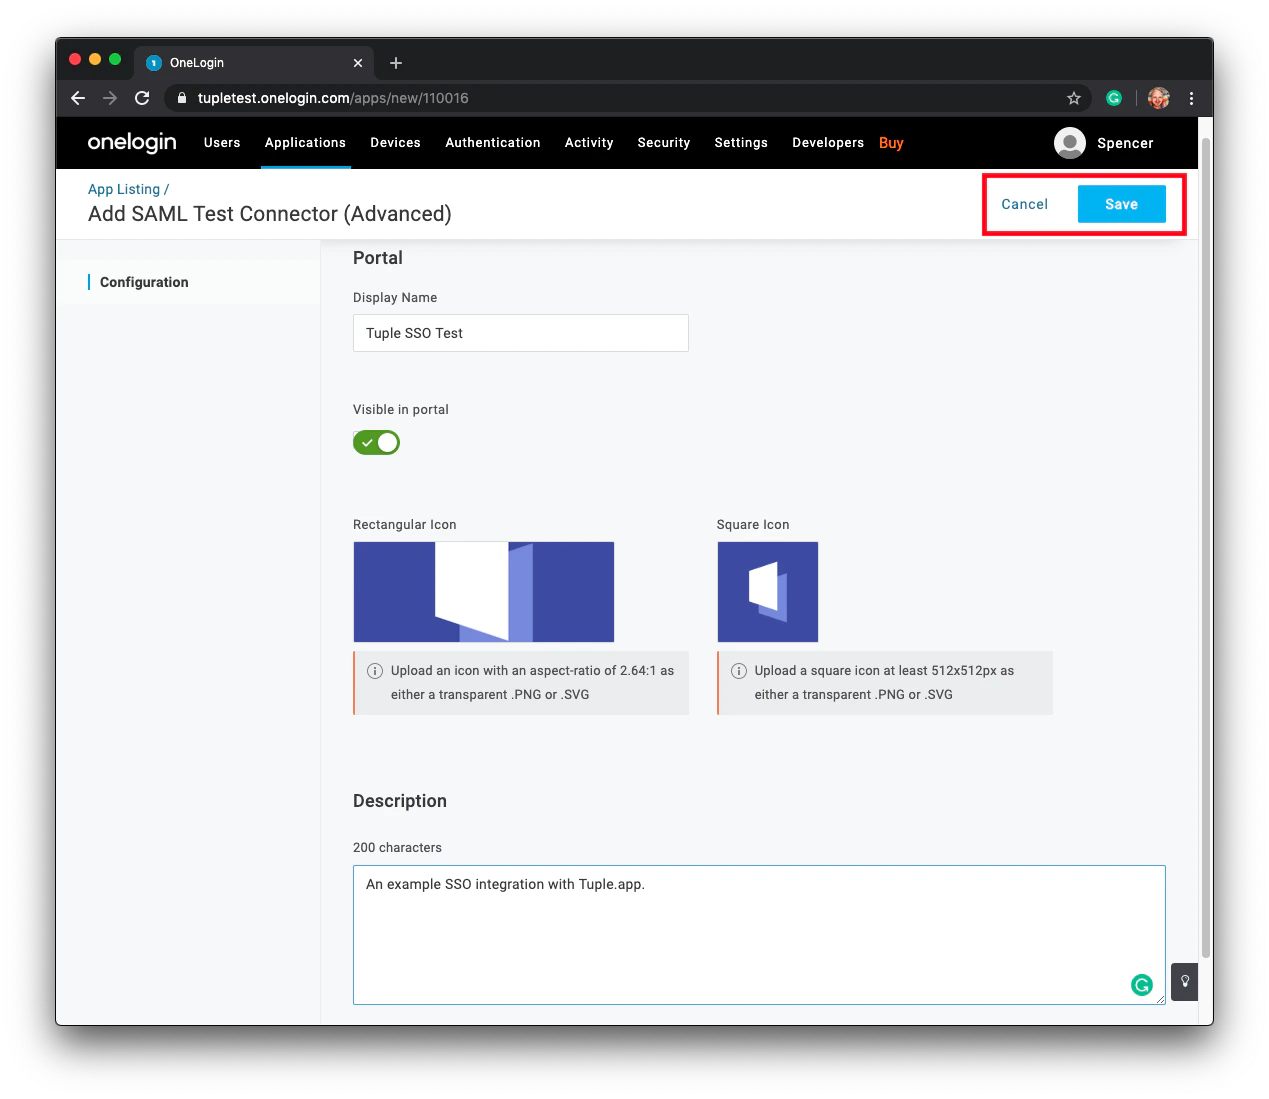
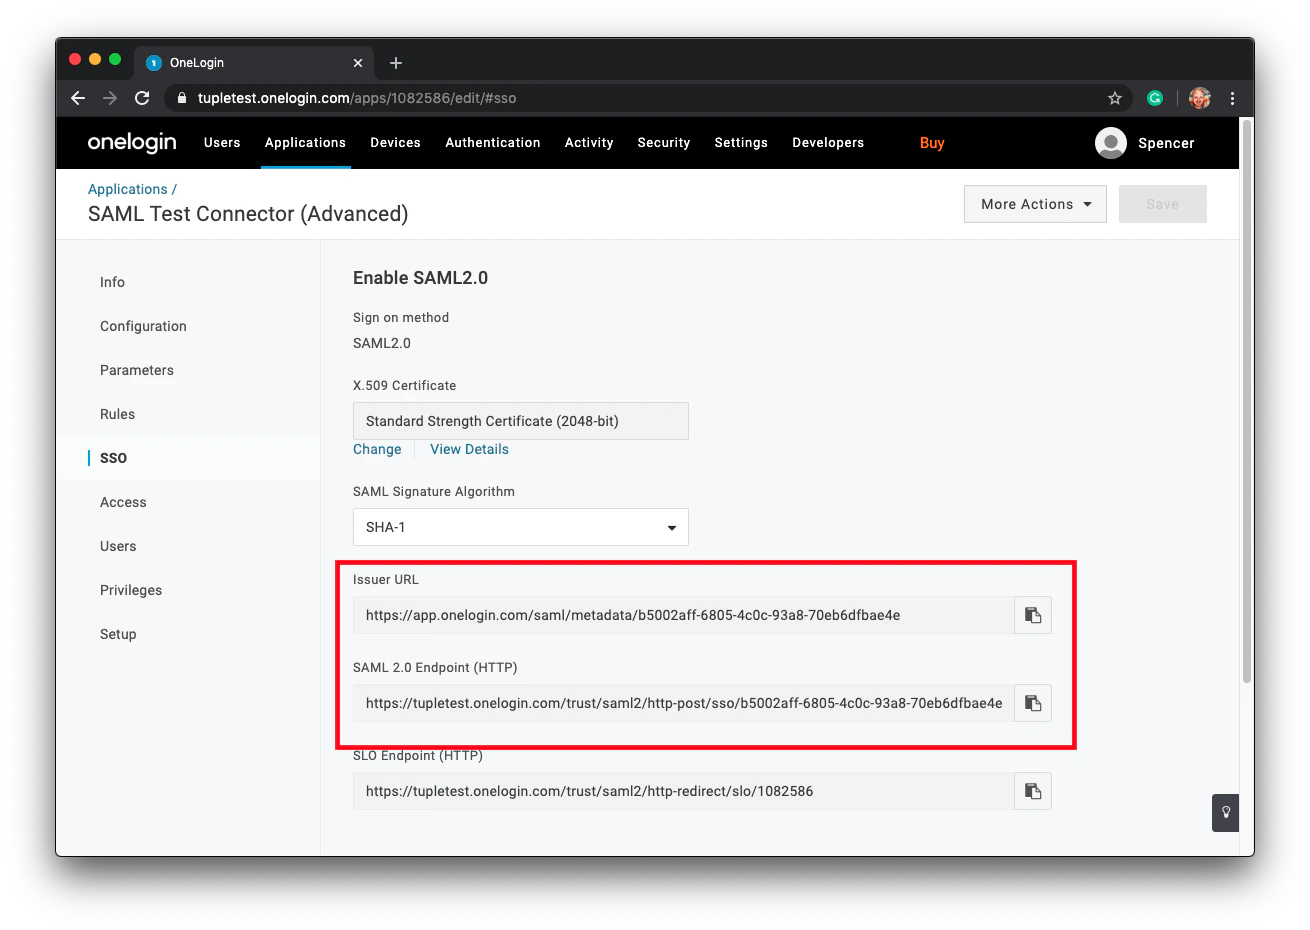
Configure Tuple's metadata
After saving, click Configuration in the left-hand sidebar.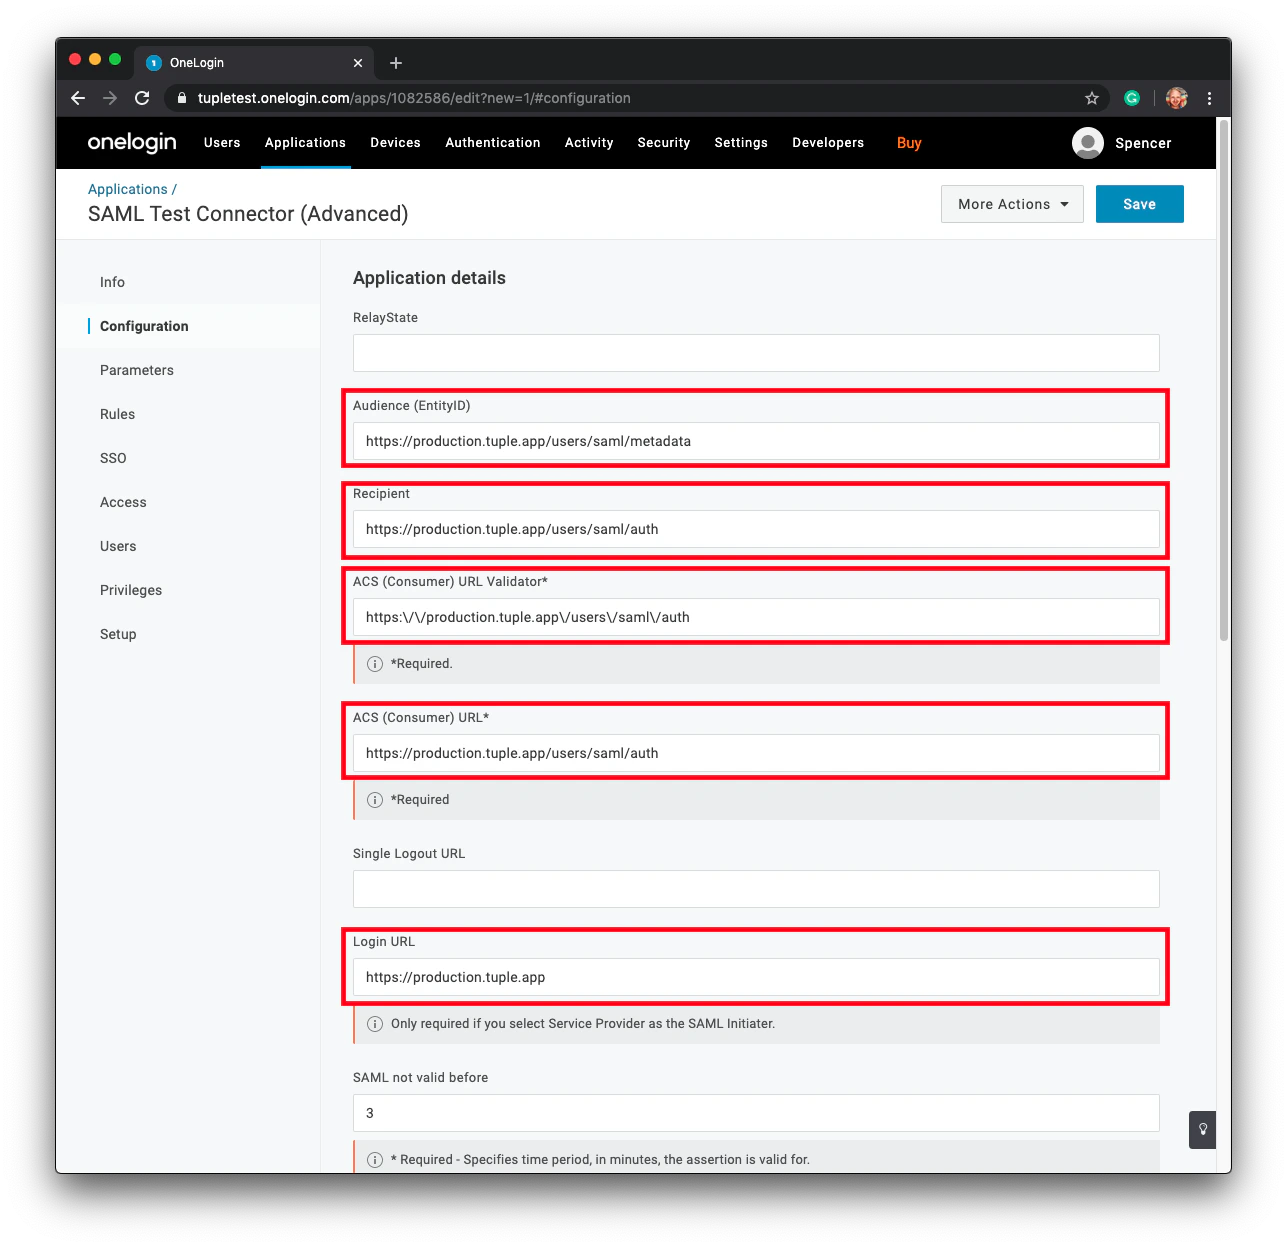
3
Attach required parameters
Navigate to the Parameters section in the sidebar and click the plus button to add new fields.Tuple requires three fields in the SSO response: 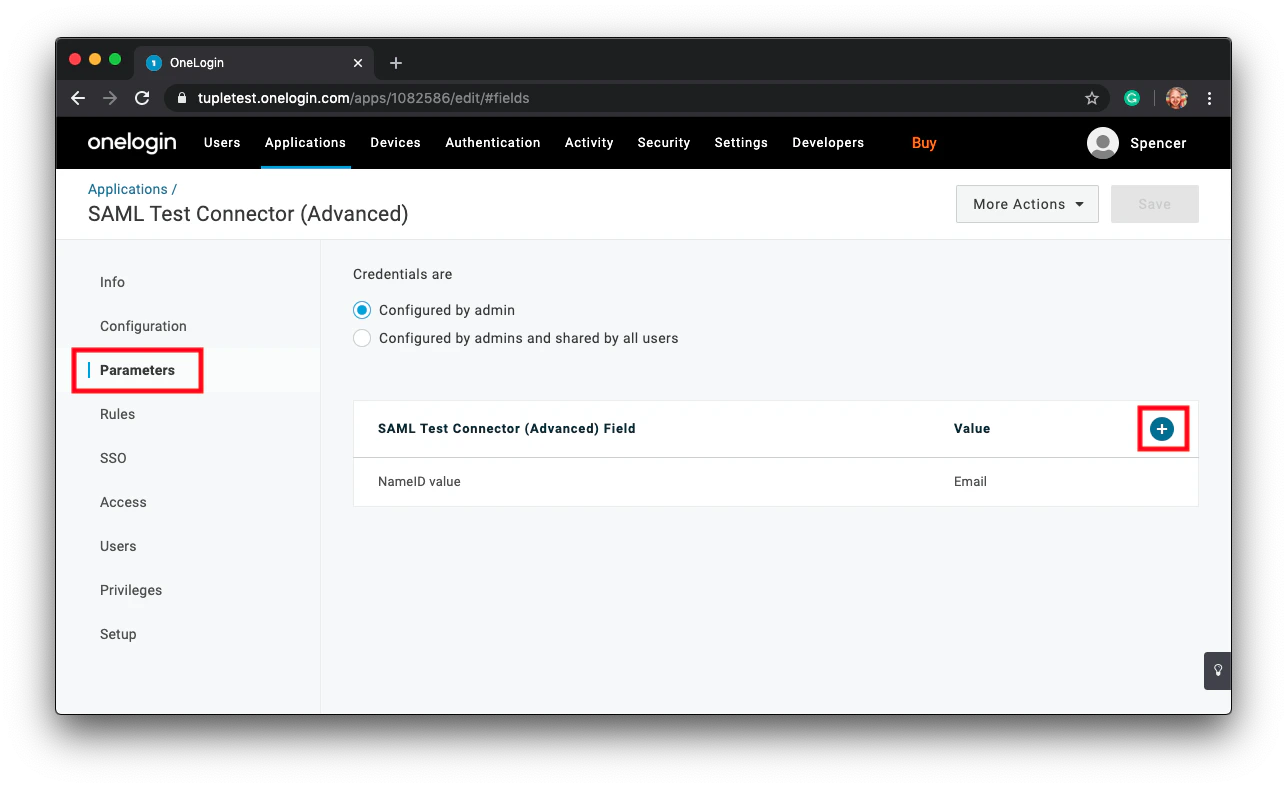
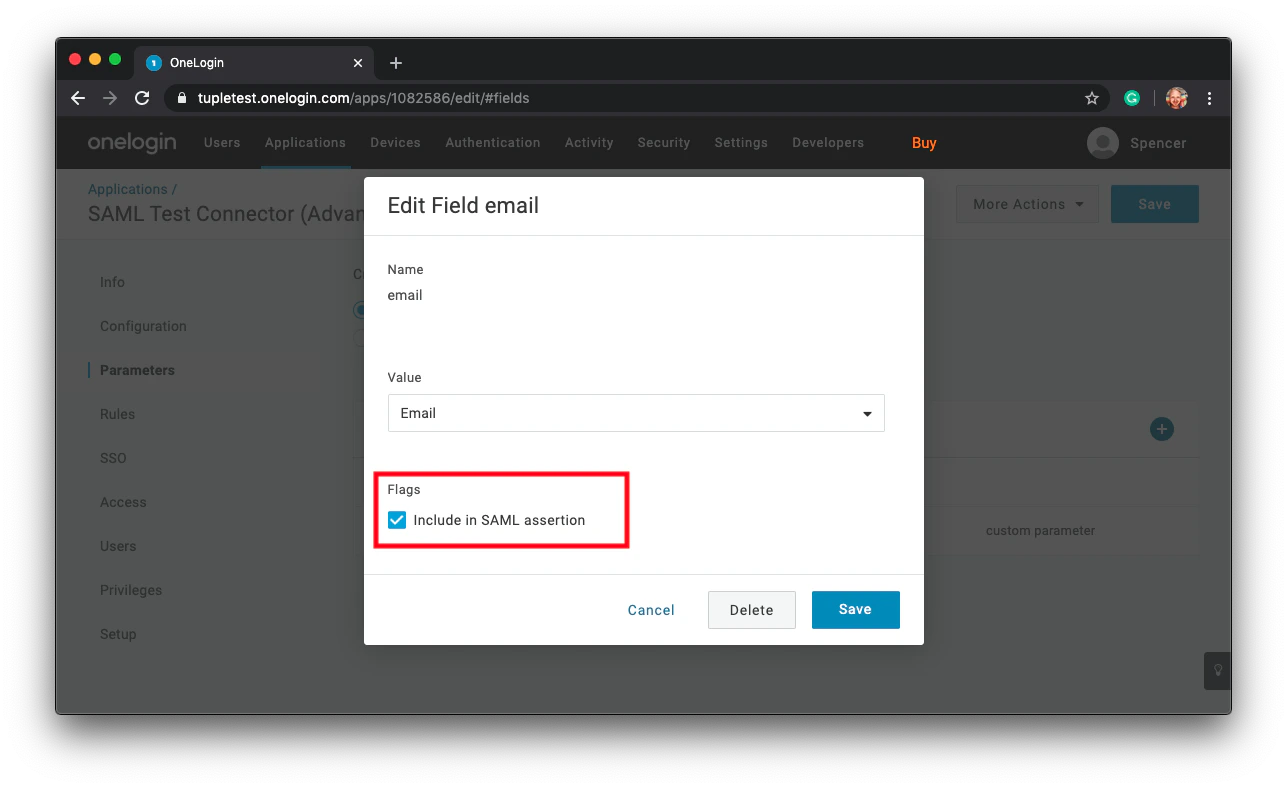
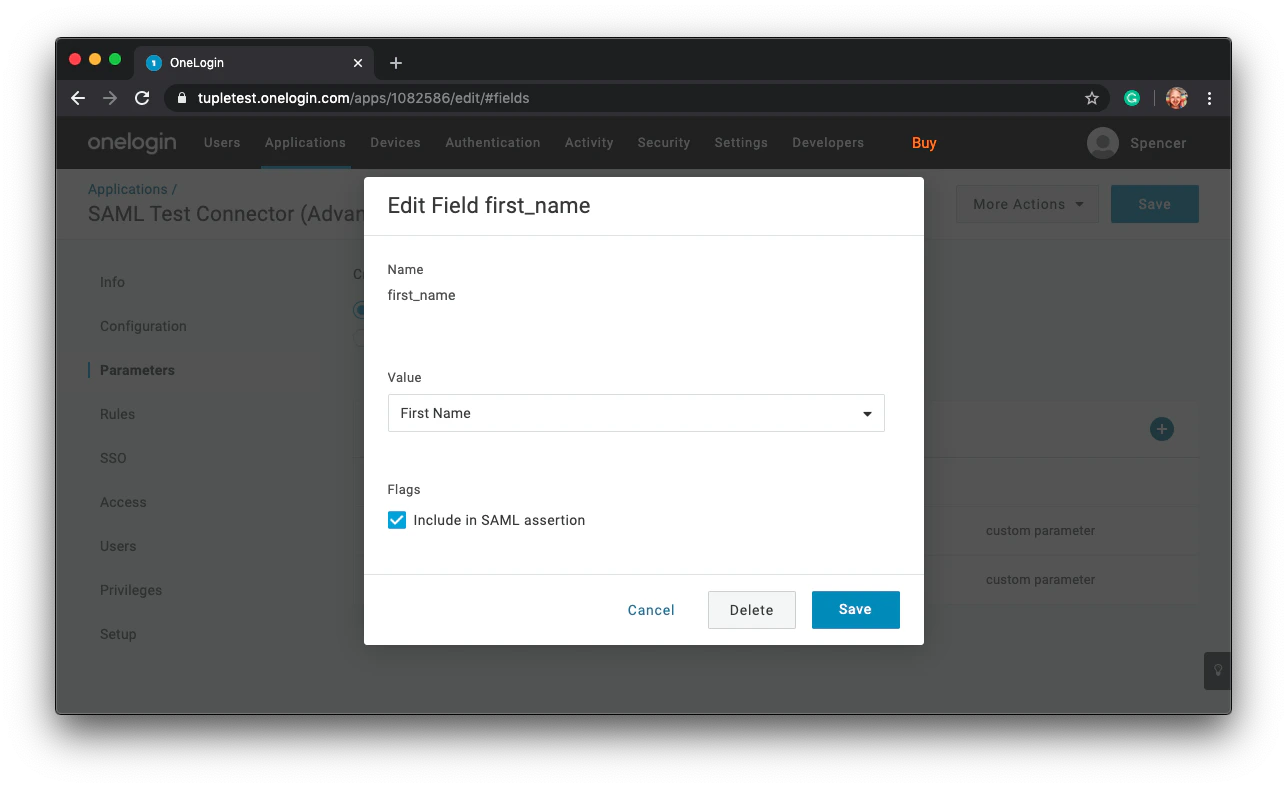
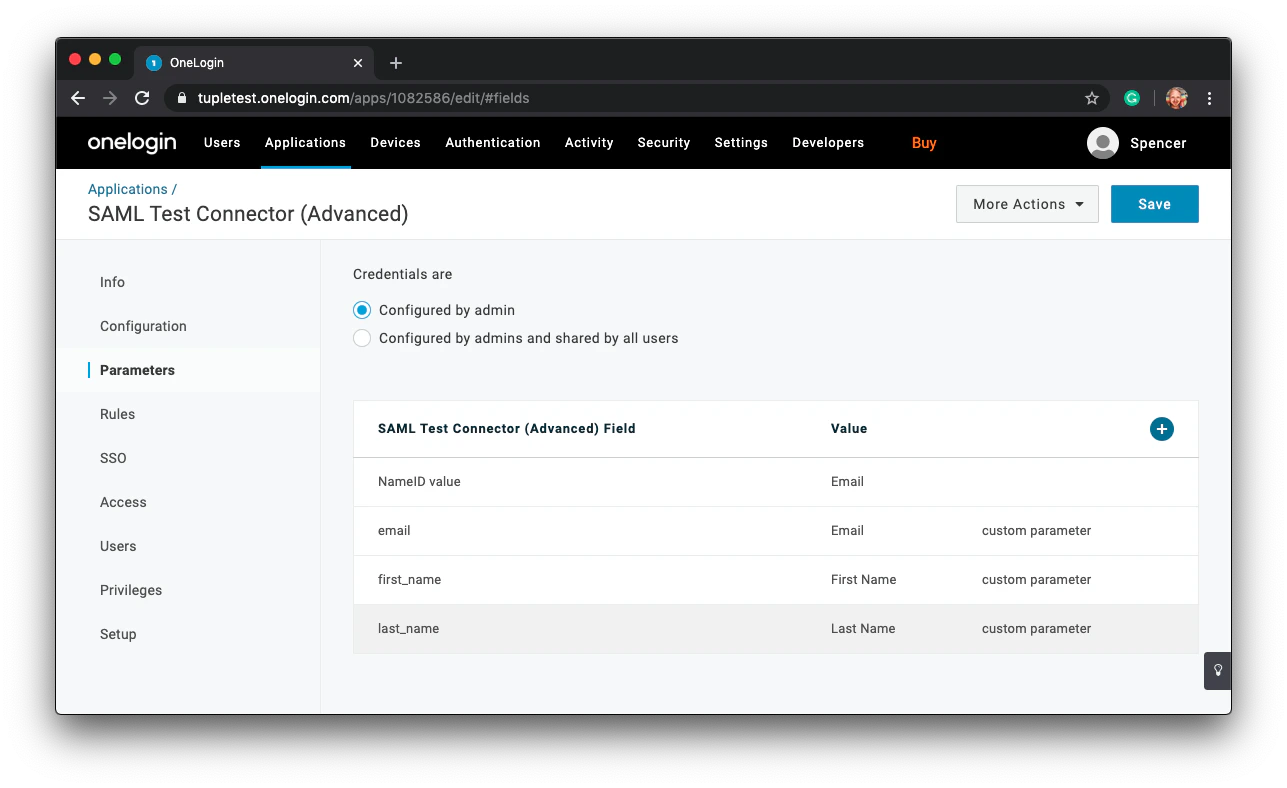
email, first_name, and last_name.first_name and last_name.4
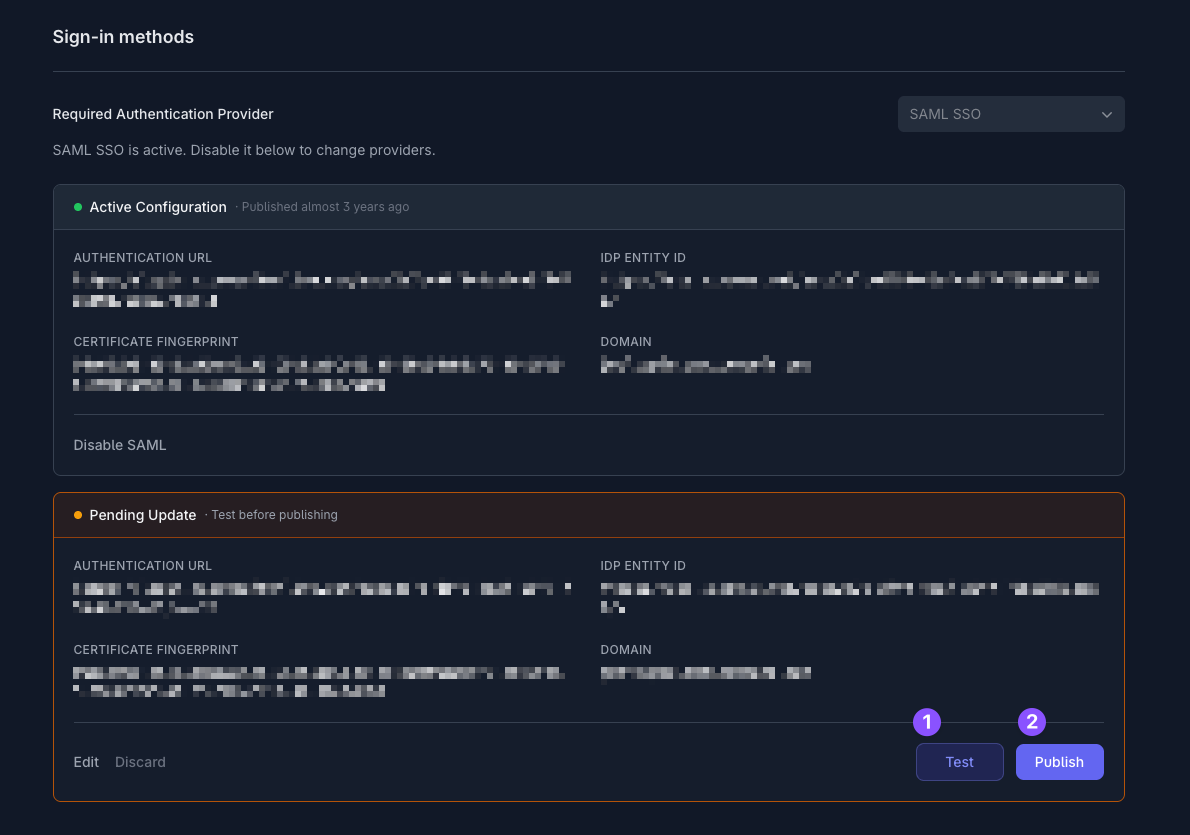
Enable SAML in Tuple
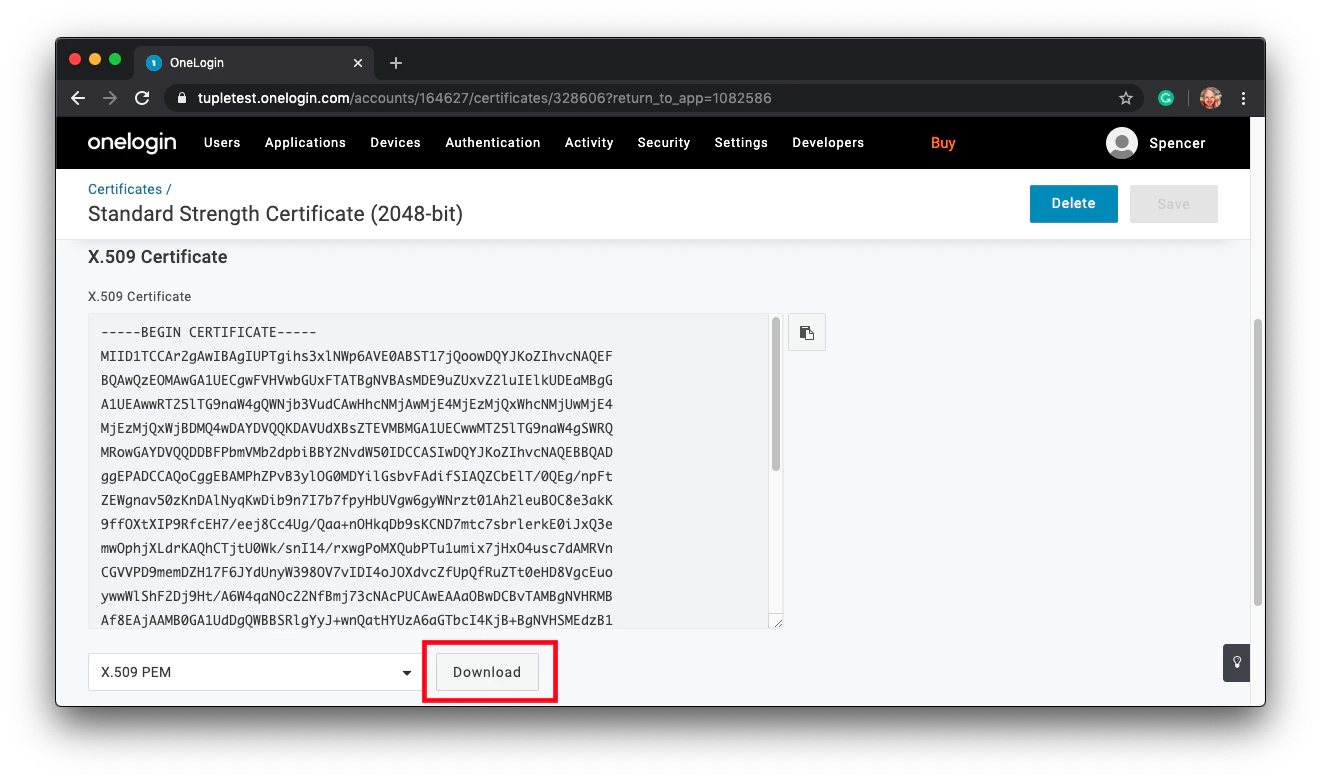
Download your X.509 certificate. Click SSO in the sidebar and find the link to View Details: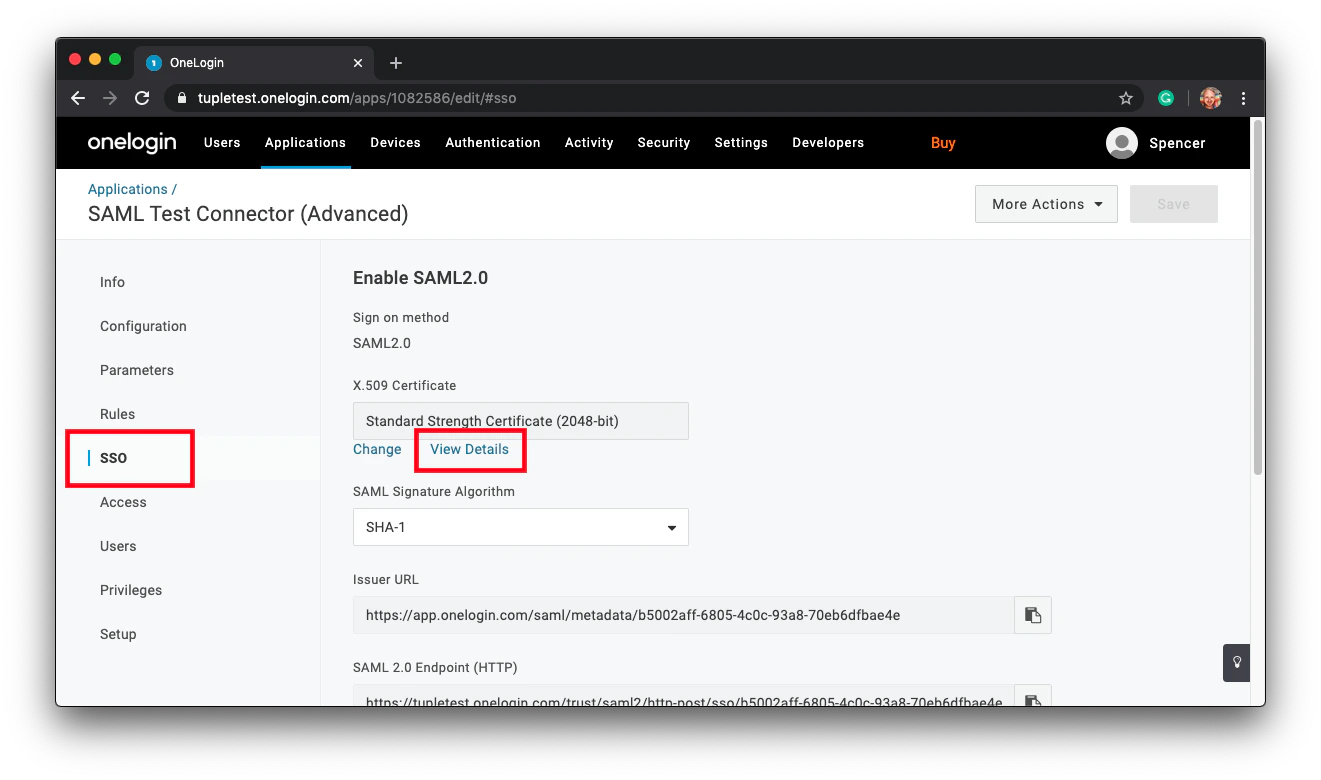
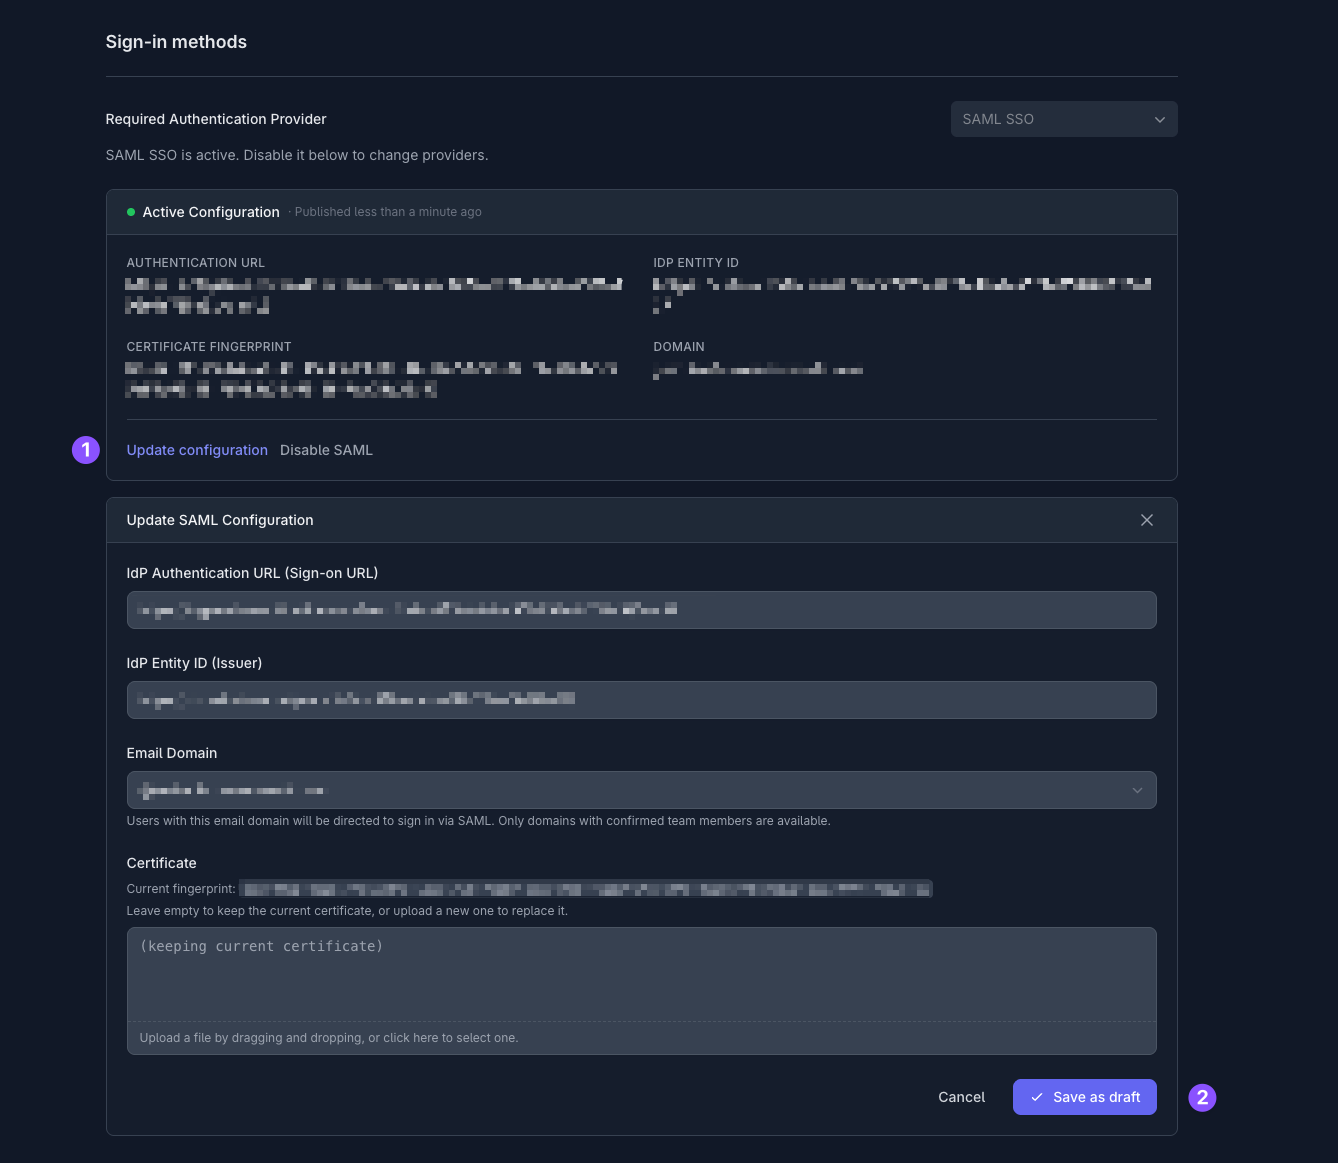
Only team owners can enable SAML. To find out who your team owner is, check your profile.