Email addresses in and Tuple must match exactly. For example,
dev+tuple@company.com does not match dev@company.com. Verify your team’s email addresses before enabling SSO.1
Create an enterprise application
Sign in to the Microsoft Entra admin center as at least a Cloud Application Administrator.Navigate to Identity > Applications > Enterprise applications and click New application. Then click Create your own application.Enter “Tuple” as the application name, select Integrate any other application you don’t find in the gallery (Non-gallery), and click Create.
2
Assign users
Before configuring SSO, assign the users who need access to Tuple. In your new Tuple application, go to Users and groups and add the users or groups that should have SSO access.
3
Configure SAML
In your Tuple application, navigate to Single sign-on in the left sidebar and select SAML as the sign-on method.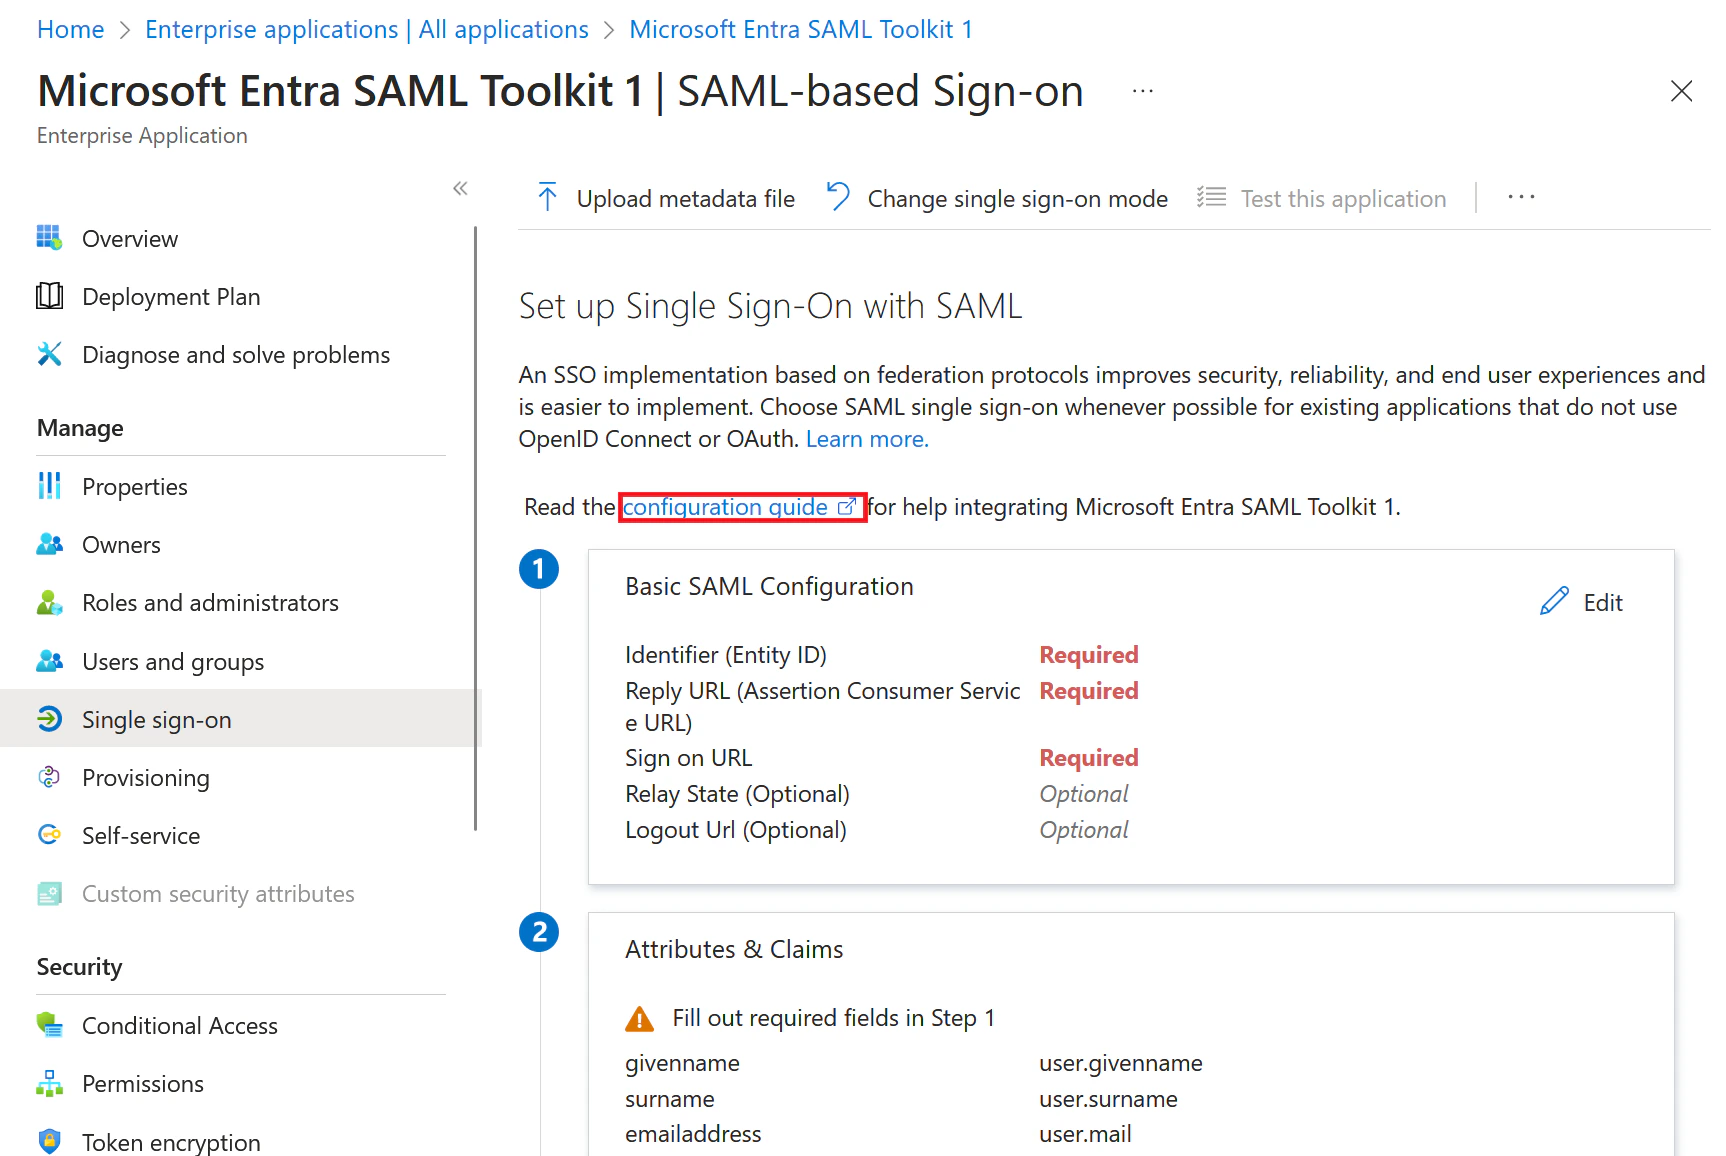
4
Configure attributes and claims
Click Edit on the Attributes & Claims card. Add two custom claims so Tuple receives the user’s first and last name.Click Add new claim and create each of the following:
Leave the Namespace field empty for both claims.Tuple also reads
email from the SAML response. The default claim for email address mapped to user.mail works automatically — no changes needed.5
Set up SAML in Tuple
On the SAML Certificates card, download the Certificate (Base64) file.Then, in the Set up Tuple card, copy the following values:Under Sign-in methods, set Required Authentication Provider to SAML SSO. The Update SAML Configuration form appears:
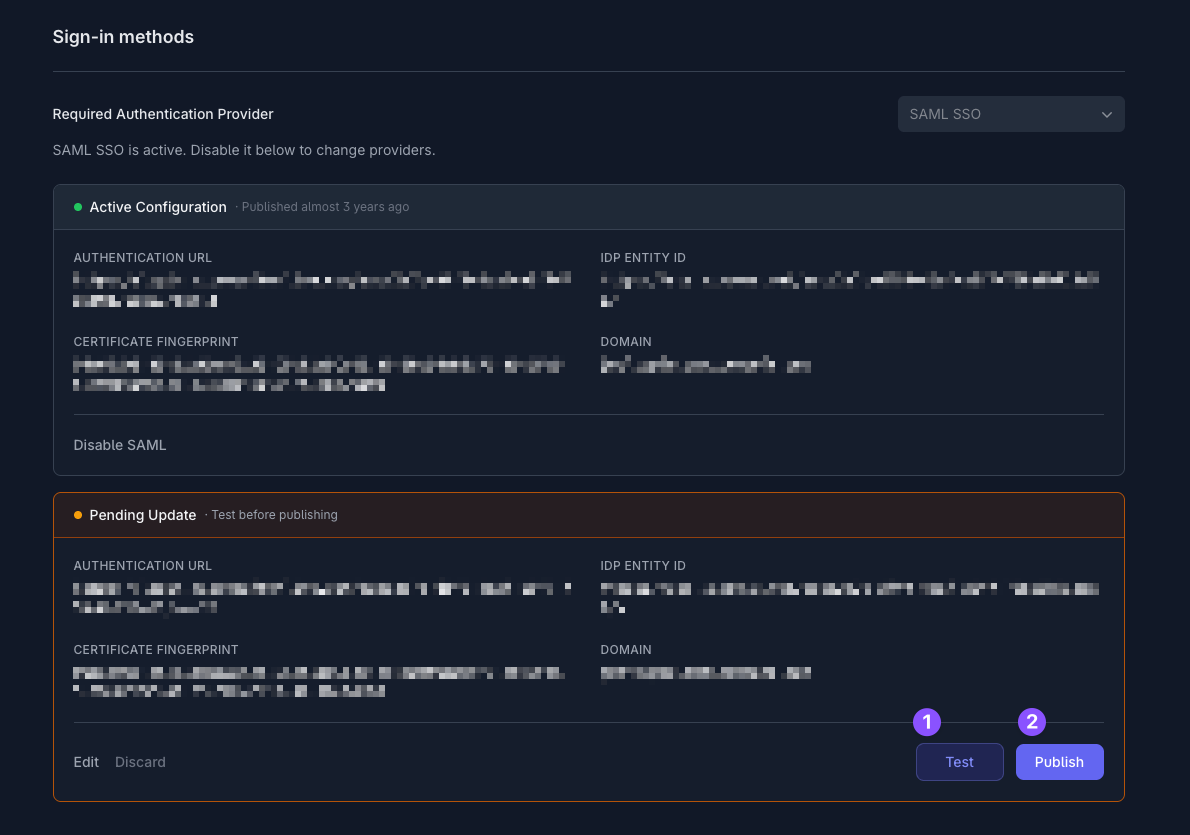
- Login URL — this is your IdP authentication URL
- Microsoft Entra Identifier — this is your IdP entity ID
Only team owners can enable SAML. To find out who your team owner is, check your profile.