> ## Documentation Index
> Fetch the complete documentation index at: https://docs.tuple.app/llms.txt
> Use this file to discover all available pages before exploring further.
# OneLogin
> How to set up SCIM provisioning in Tuple with OneLogin
This guide walks through configuring SCIM provisioning with OneLogin to automatically manage Tuple user accounts.
SCIM provisioning requires an existing [OneLogin SAML integration](/team-management/sso-onelogin). Complete the SSO setup first.
## Prerequisites
You need the SCIM credentials from your [Team Management page](https://production.tuple.app/team_management/invitations) in Tuple. If you don't see them, contact [support@tuple.app](mailto:support@tuple.app) to enable SCIM for your team.
## Setup
In OneLogin, navigate to **Apps > Add Apps**. Search for **SCIM Provisioner with SAML (Core Schema)** and select it.
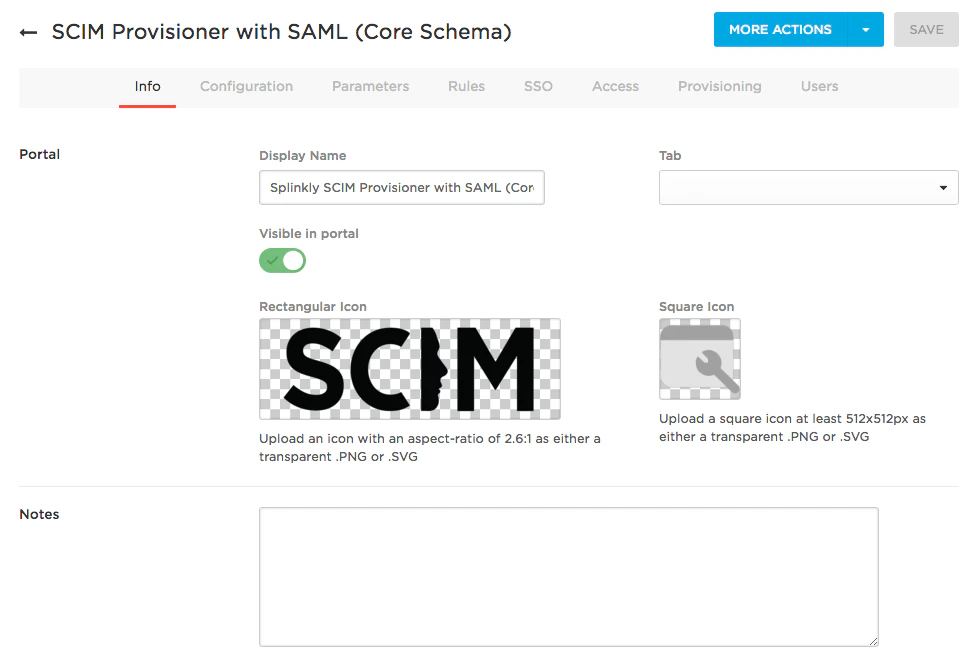 Enter "Tuple" as the **Display Name** and click **Save**.
Go to the **Configuration** tab. Fill in the SAML fields from your existing [OneLogin SAML integration](/team-management/sso-onelogin), then fill in the SCIM fields:
Enter "Tuple" as the **Display Name** and click **Save**.
Go to the **Configuration** tab. Fill in the SAML fields from your existing [OneLogin SAML integration](/team-management/sso-onelogin), then fill in the SCIM fields:
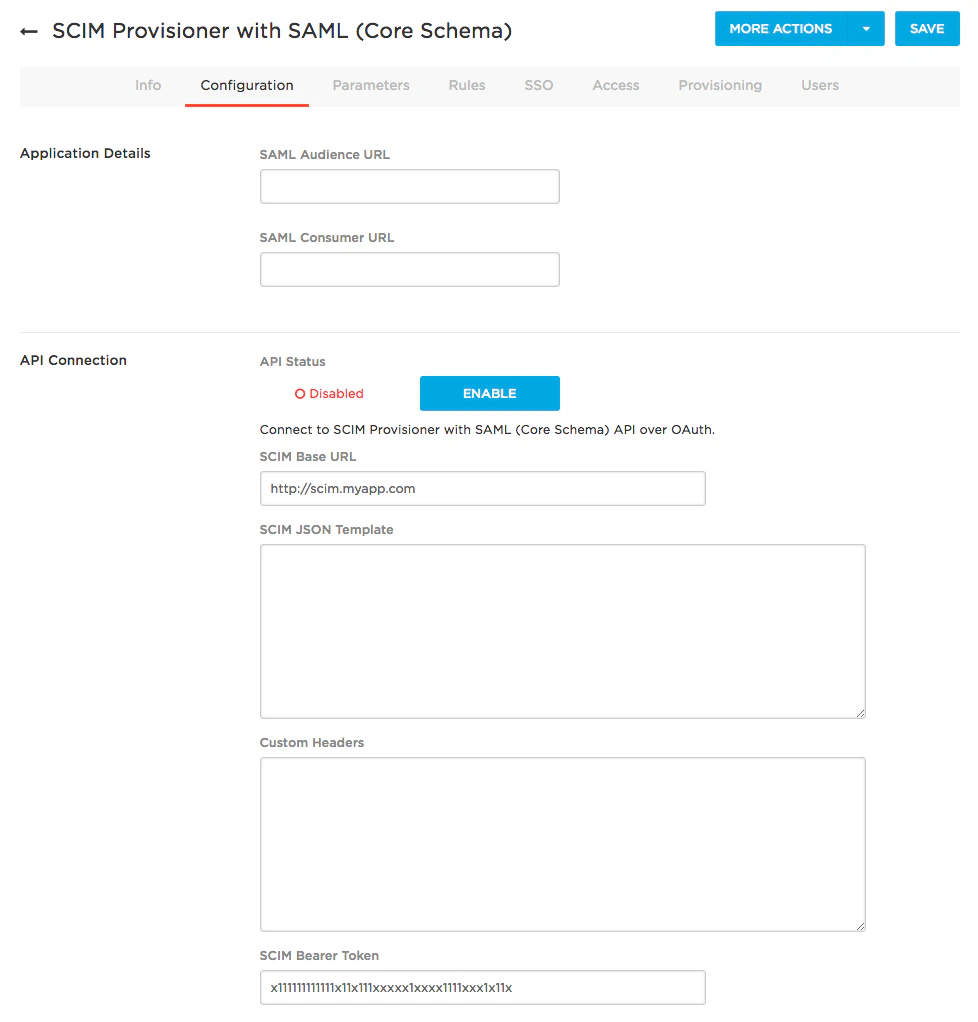 **SCIM Base URL**
```
https://production.tuple.app/scim/v2
```
**SCIM Bearer Token** -- paste the bearer token from your Tuple Team Management page.
Leave **SCIM JSON Template** and **Custom Headers** empty.
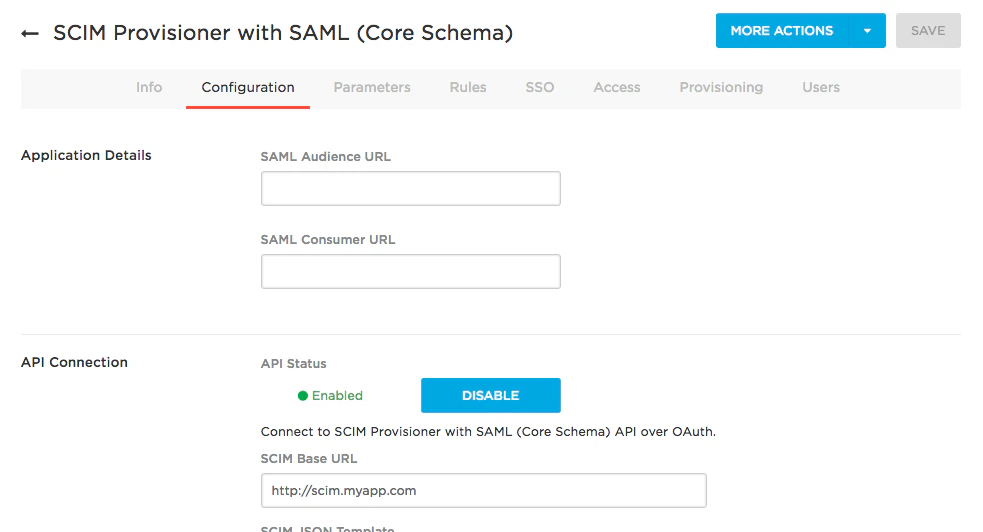
Click **Enable** on the Configuration tab. OneLogin sends a test request to verify the SCIM endpoint.
A successful connection shows **API Status** as **Enabled**.
**SCIM Base URL**
```
https://production.tuple.app/scim/v2
```
**SCIM Bearer Token** -- paste the bearer token from your Tuple Team Management page.
Leave **SCIM JSON Template** and **Custom Headers** empty.
Click **Enable** on the Configuration tab. OneLogin sends a test request to verify the SCIM endpoint.
A successful connection shows **API Status** as **Enabled**.
 Go to the **Provisioning** tab and check **Enable provisioning**.
Select the actions you want OneLogin to handle:
* Create user
* Delete user
* Update user
Click **Save**.
Go to the **Provisioning** tab and check **Enable provisioning**.
Select the actions you want OneLogin to handle:
* Create user
* Delete user
* Update user
Click **Save**.